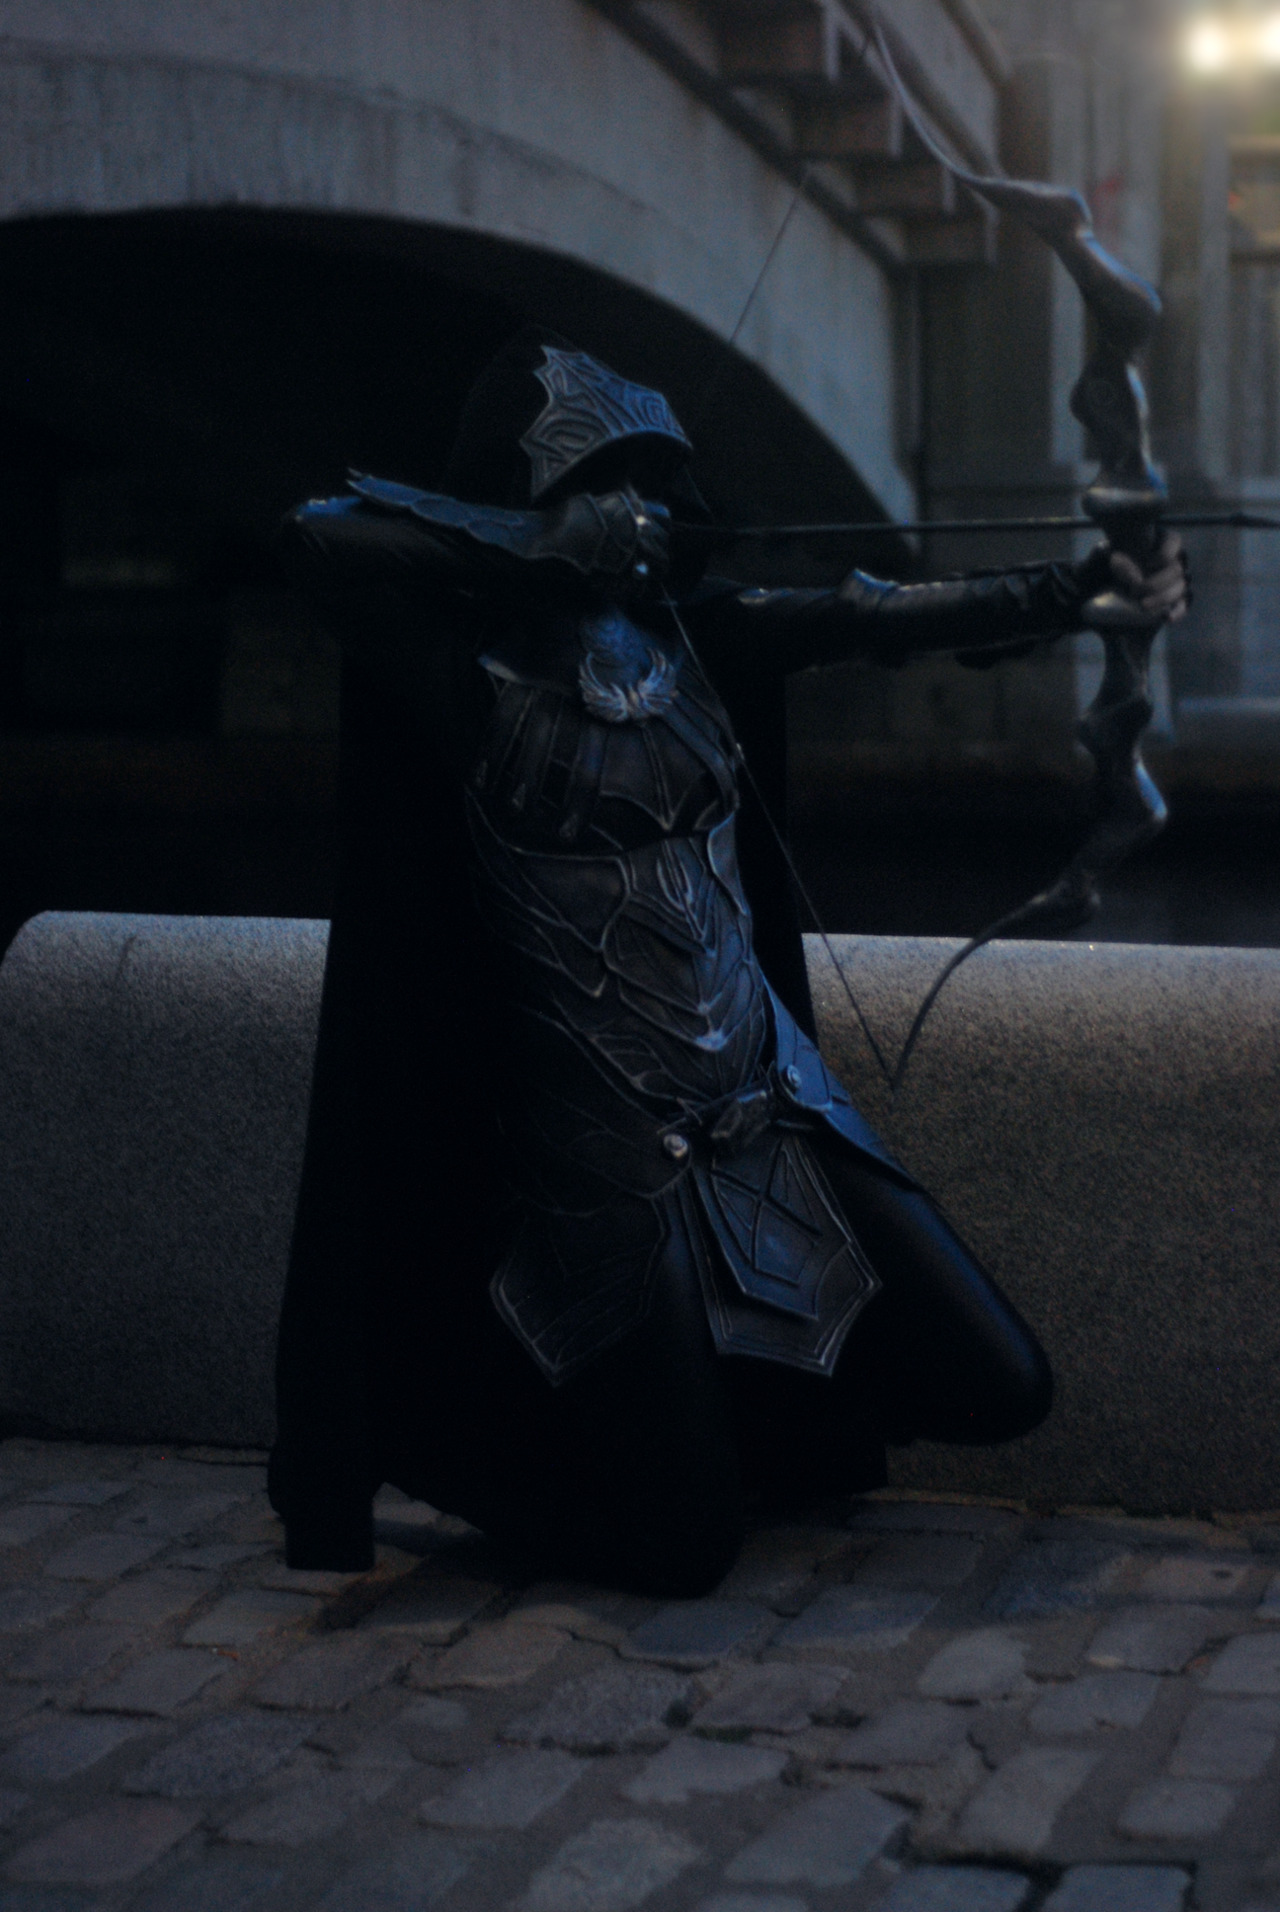
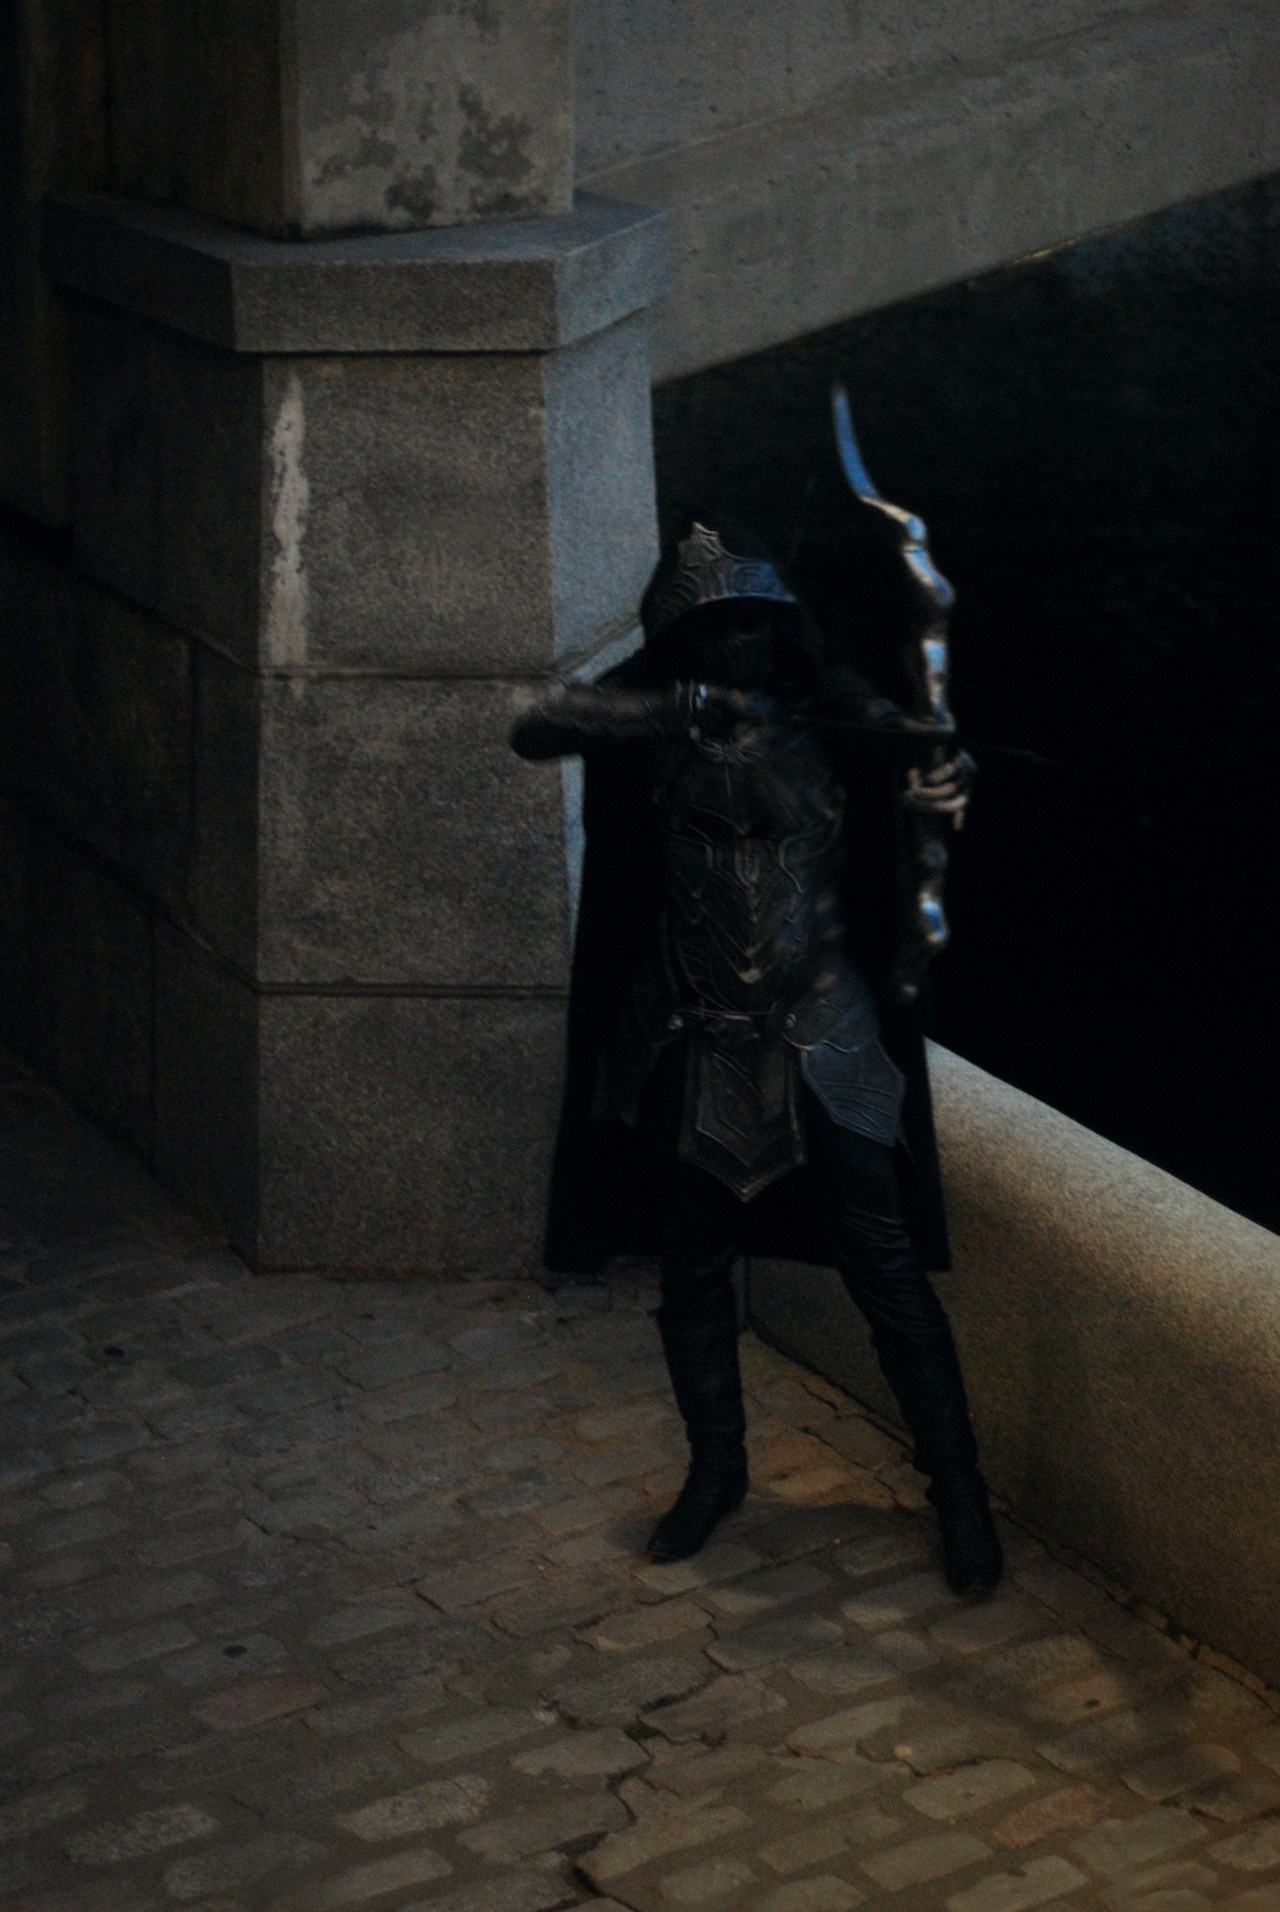
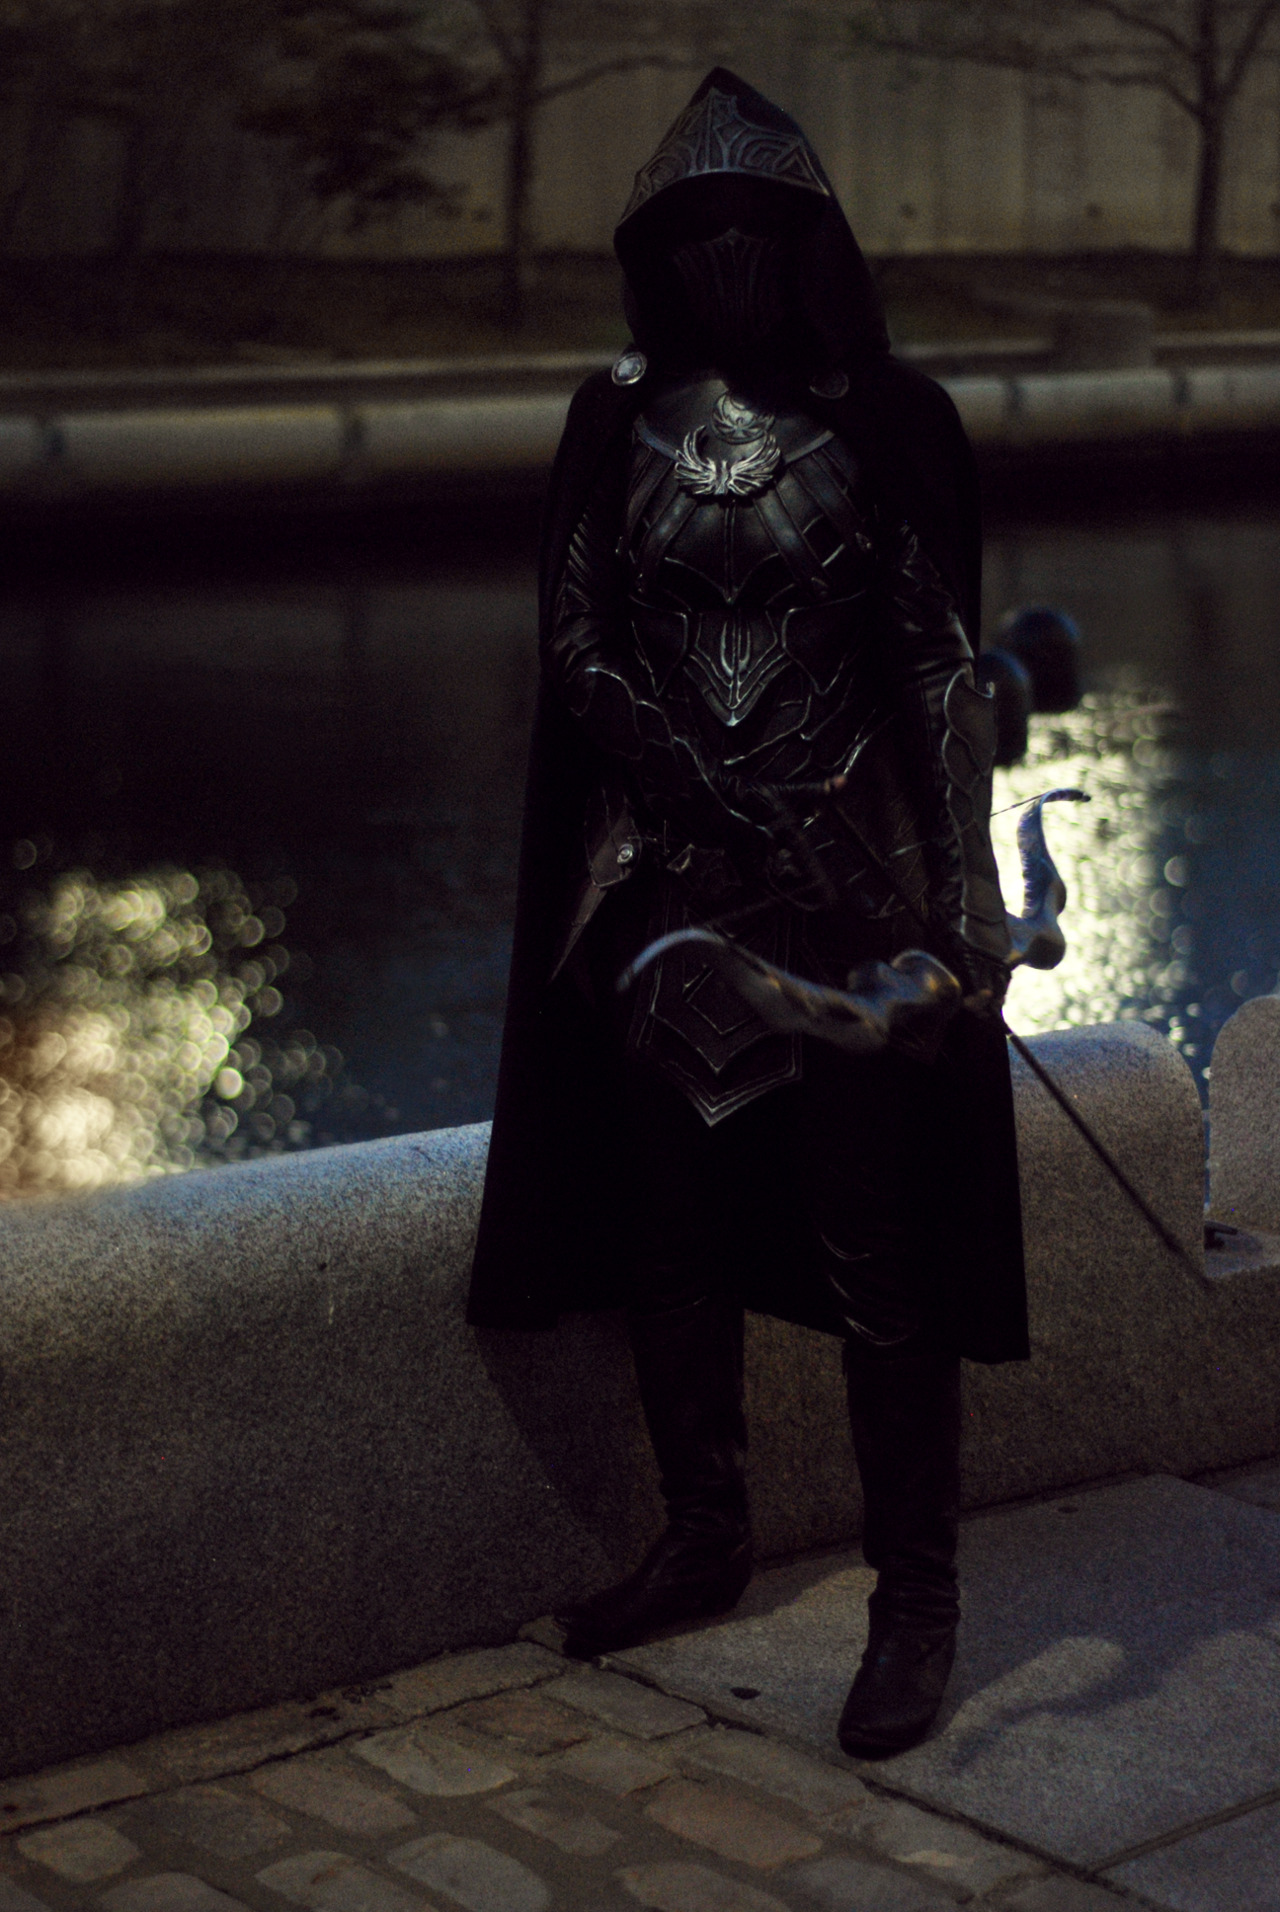
Photographed by Deb

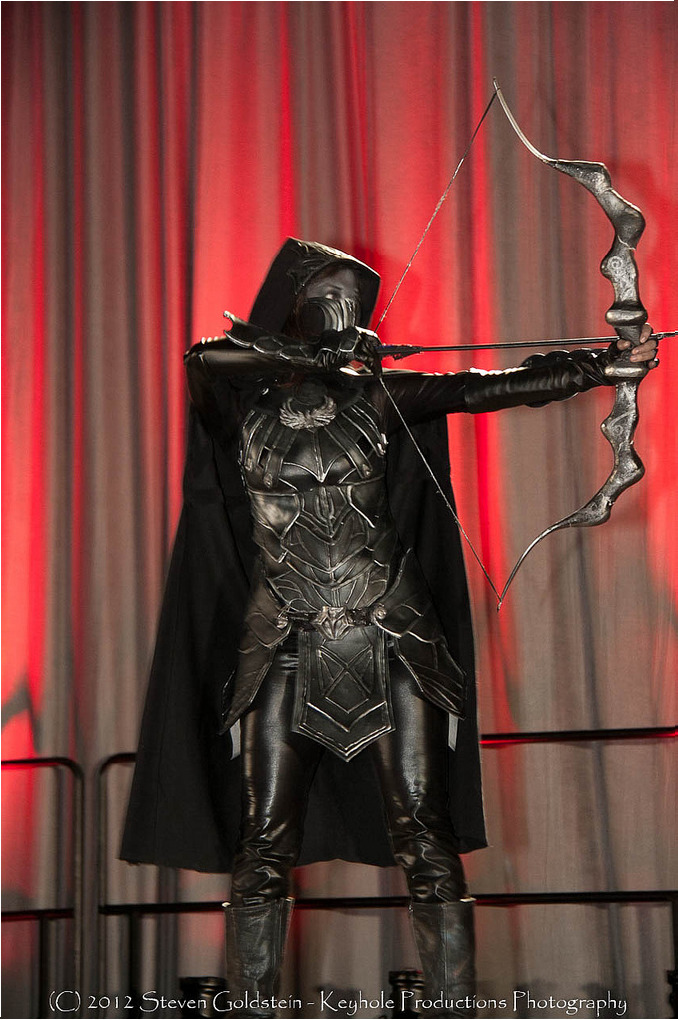

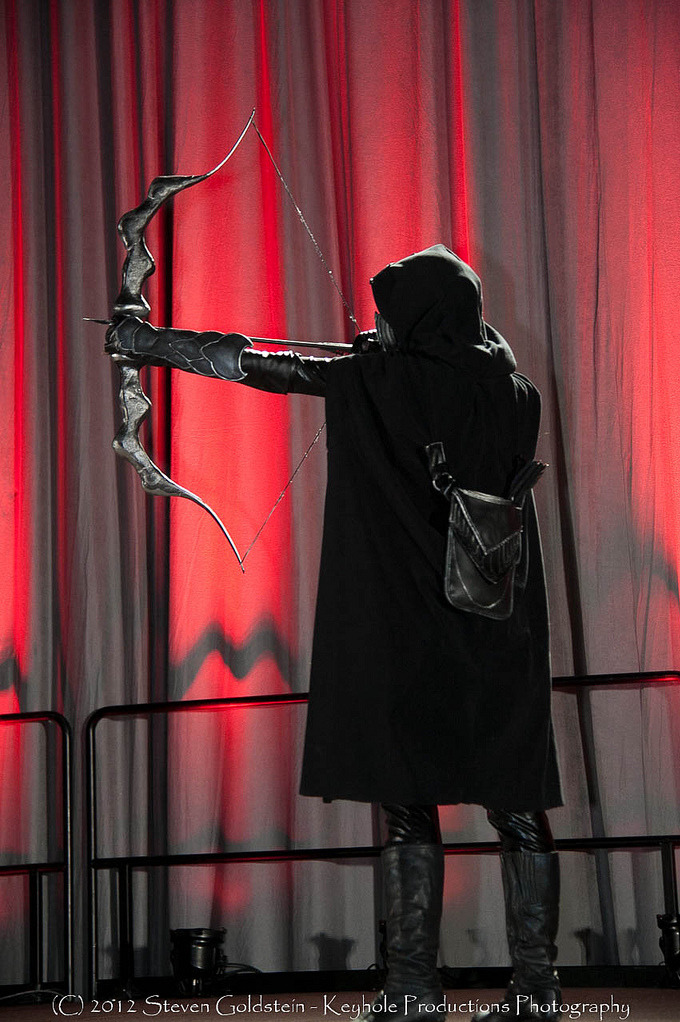
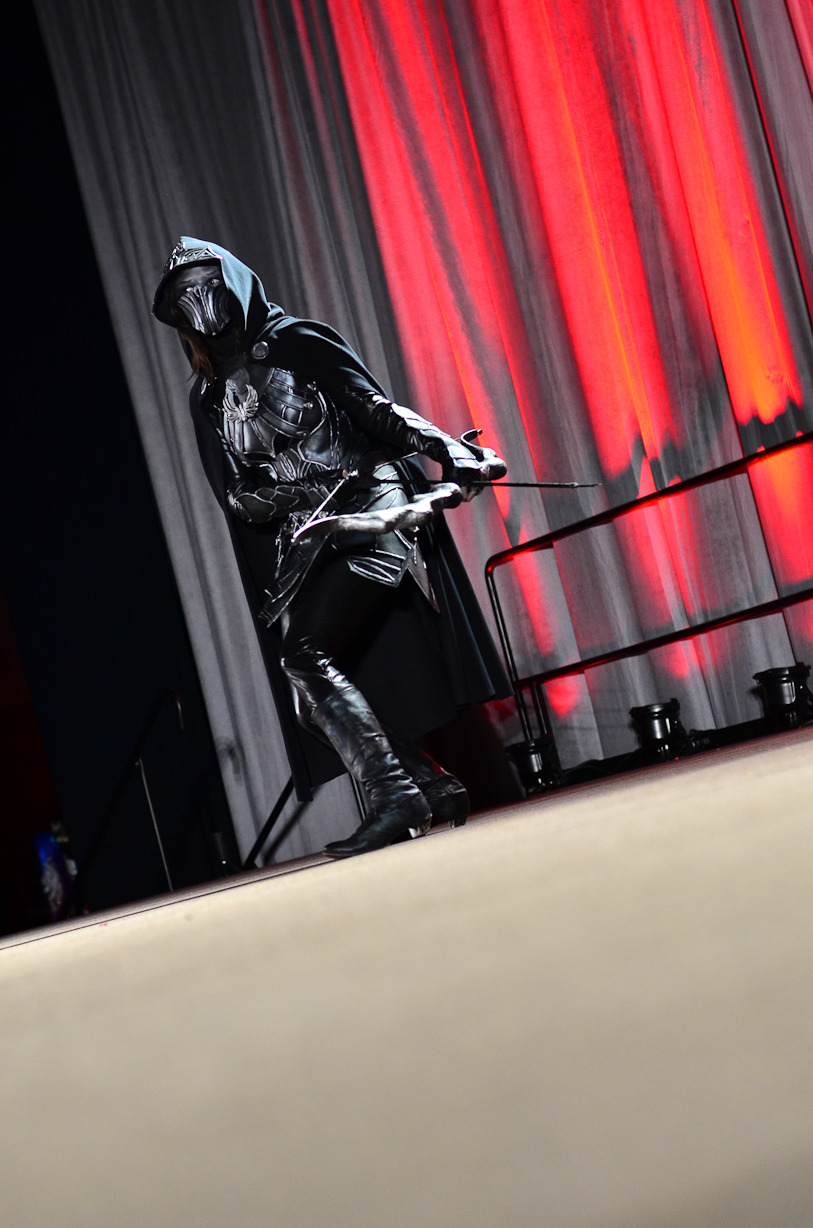
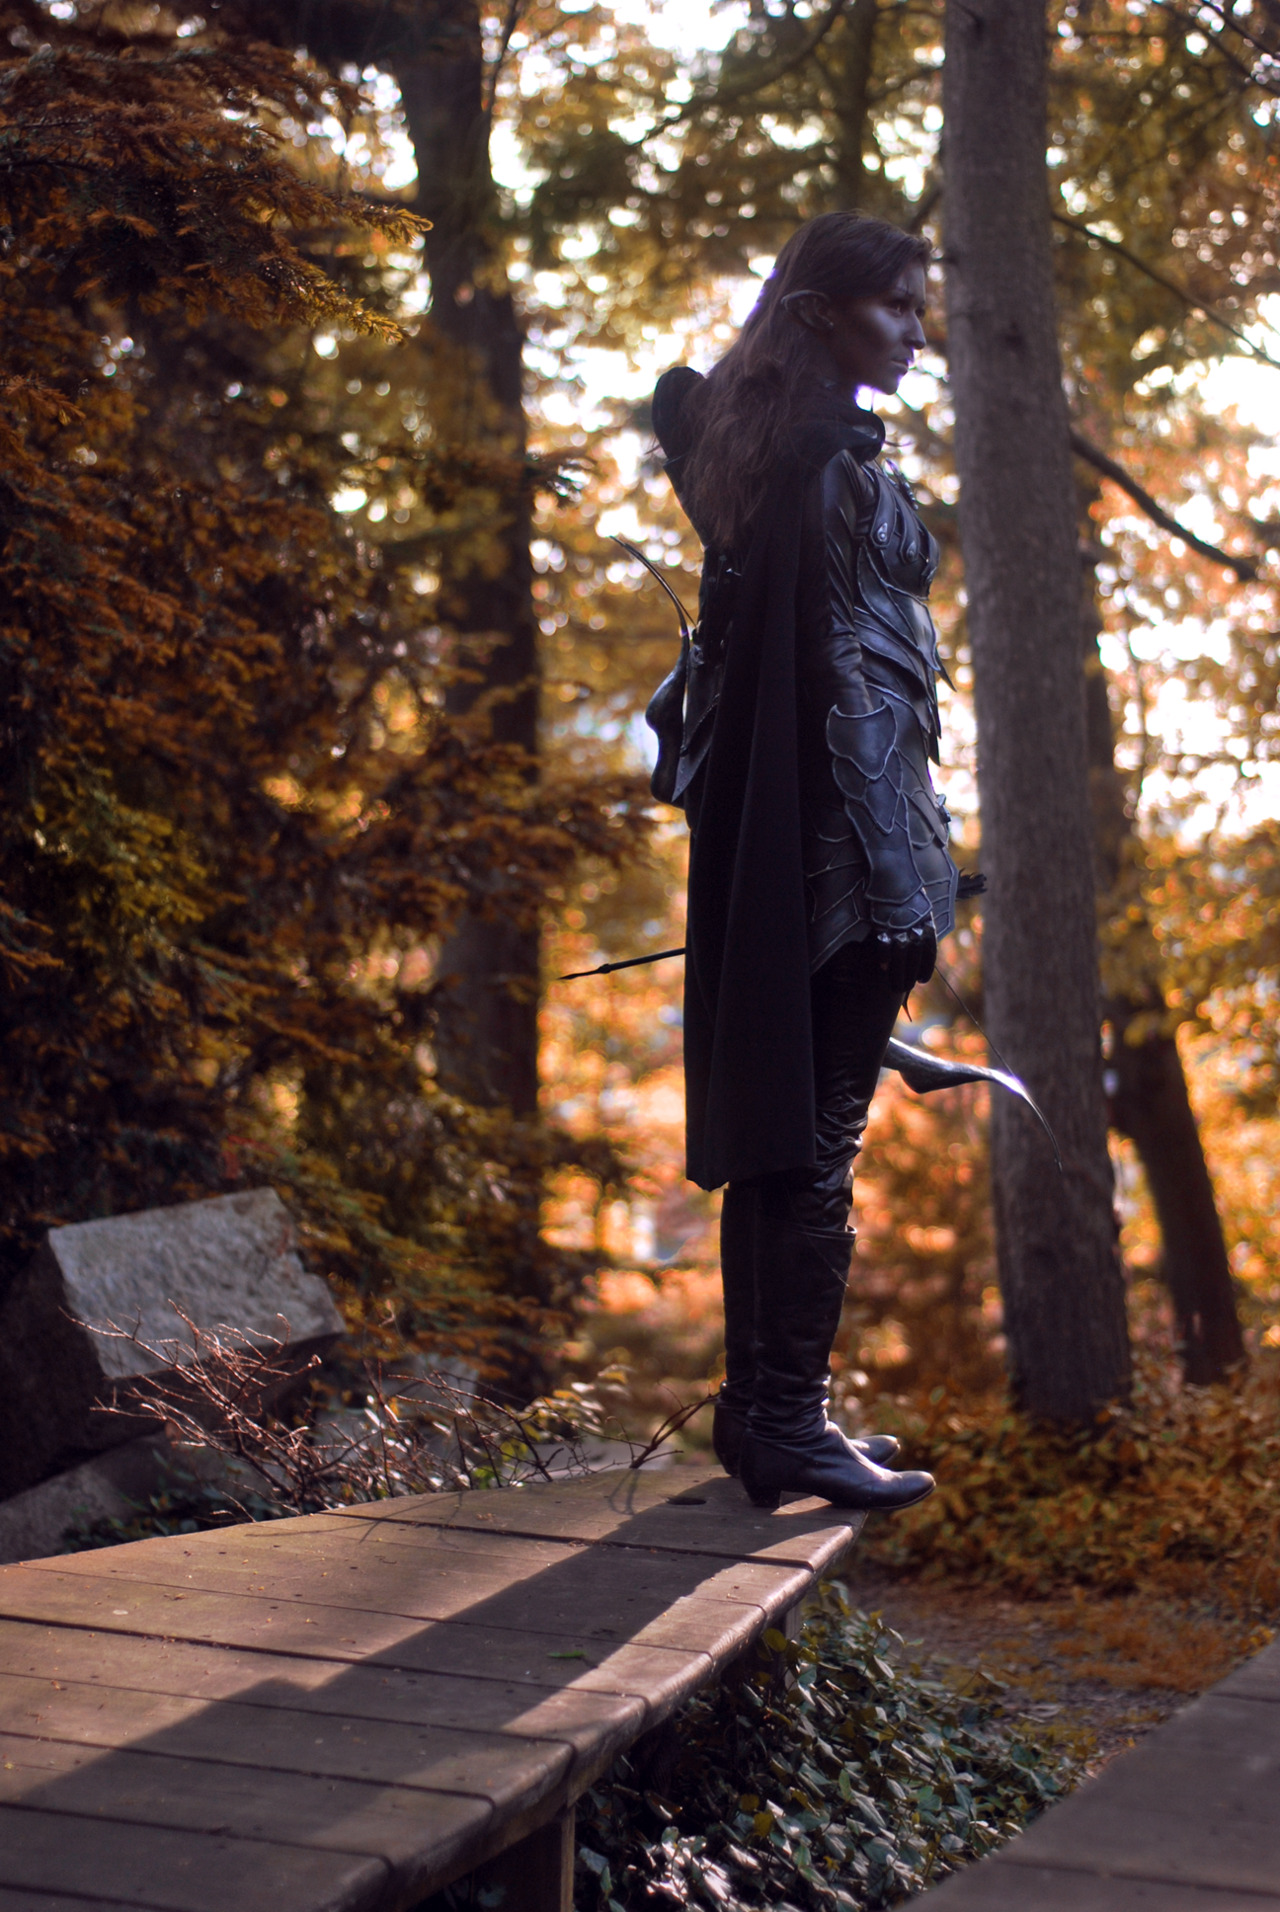
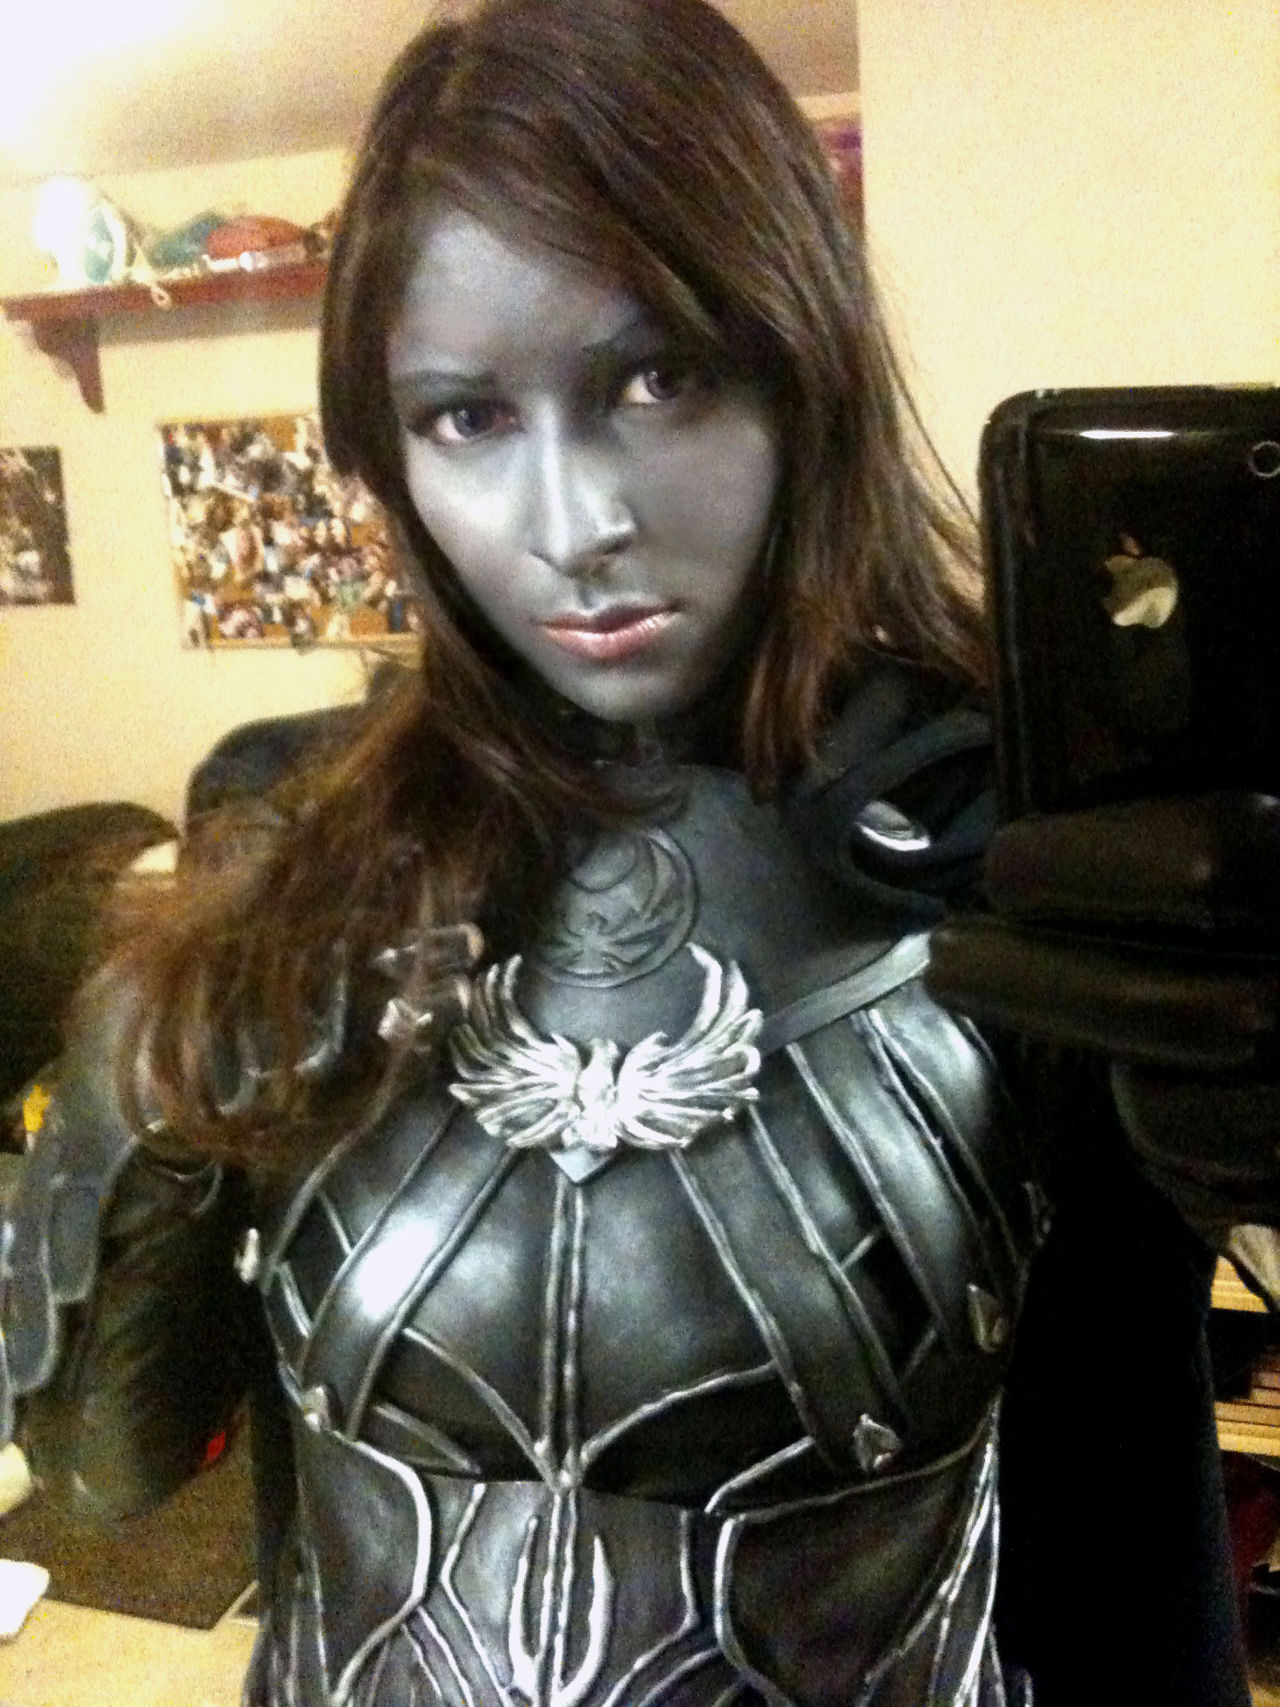
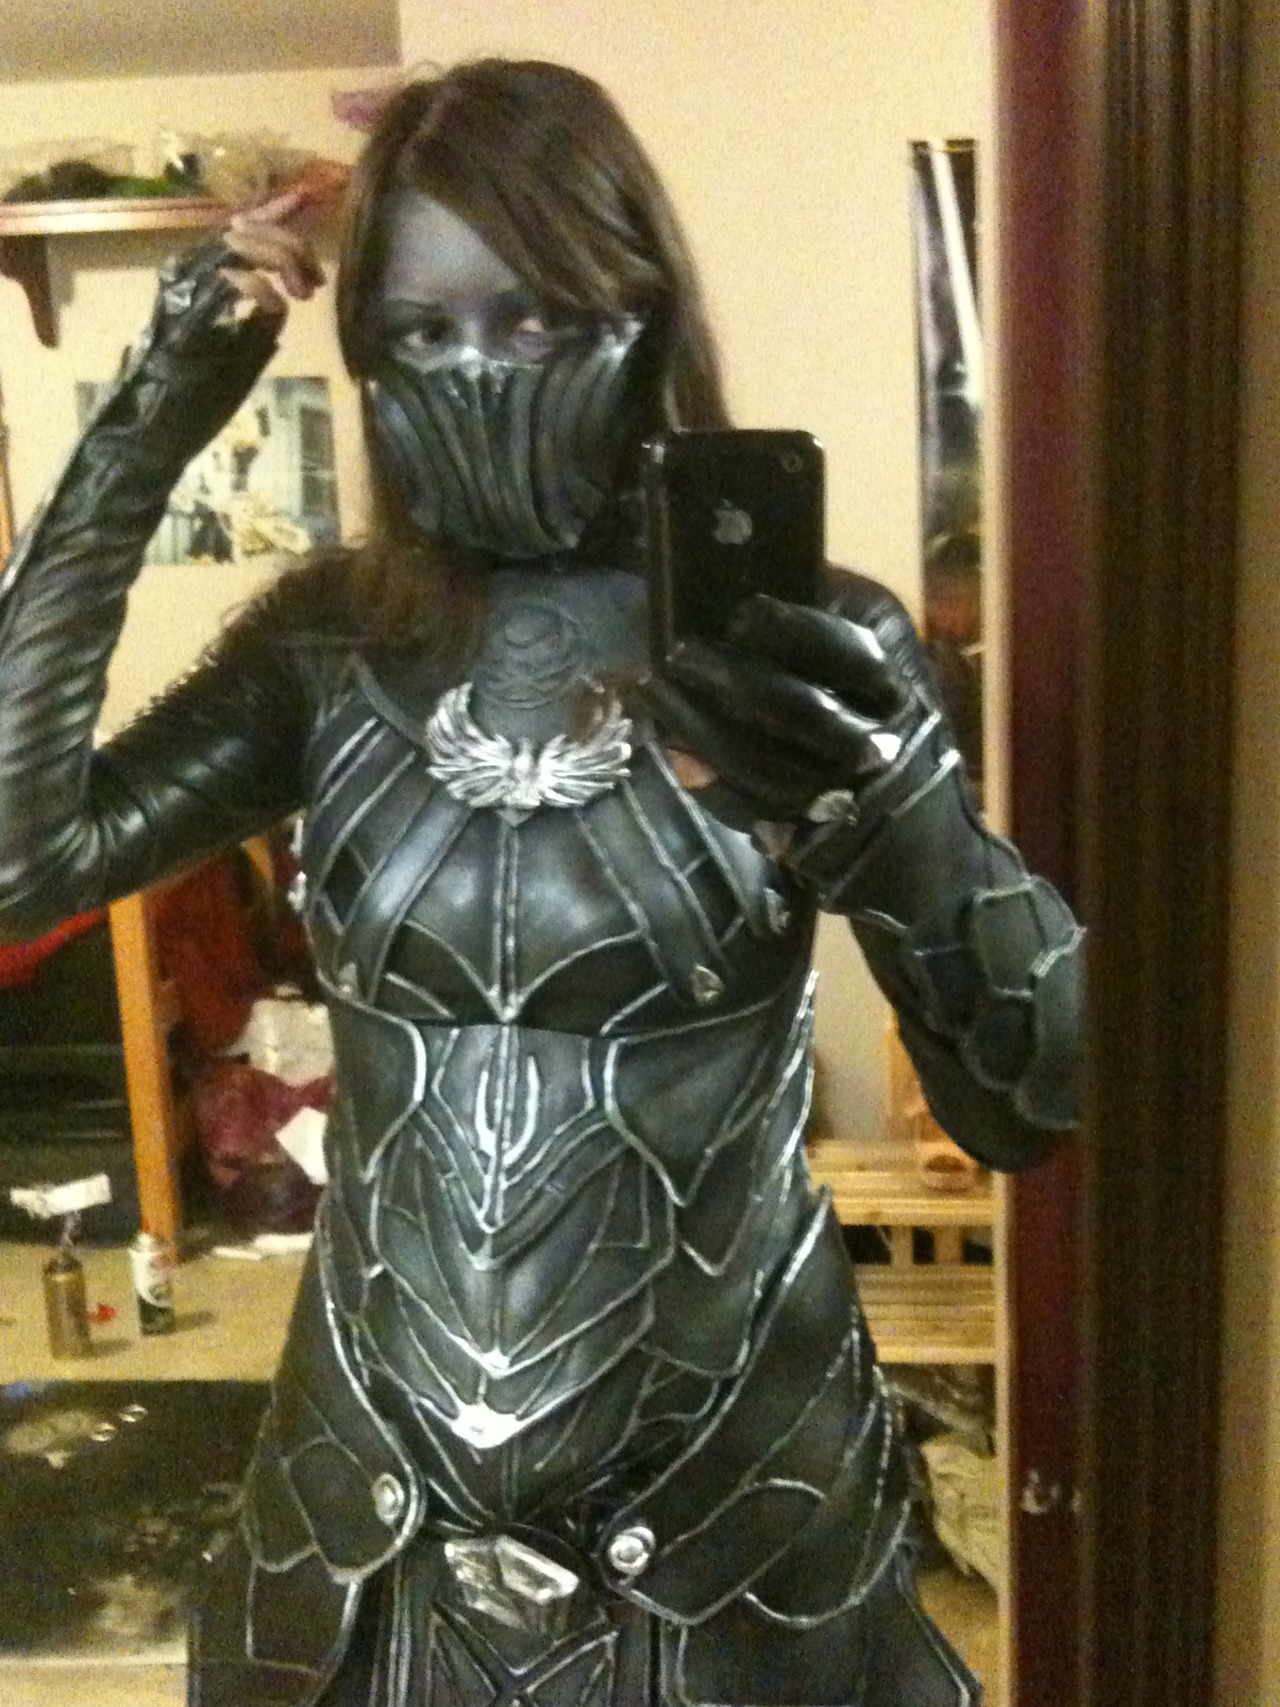
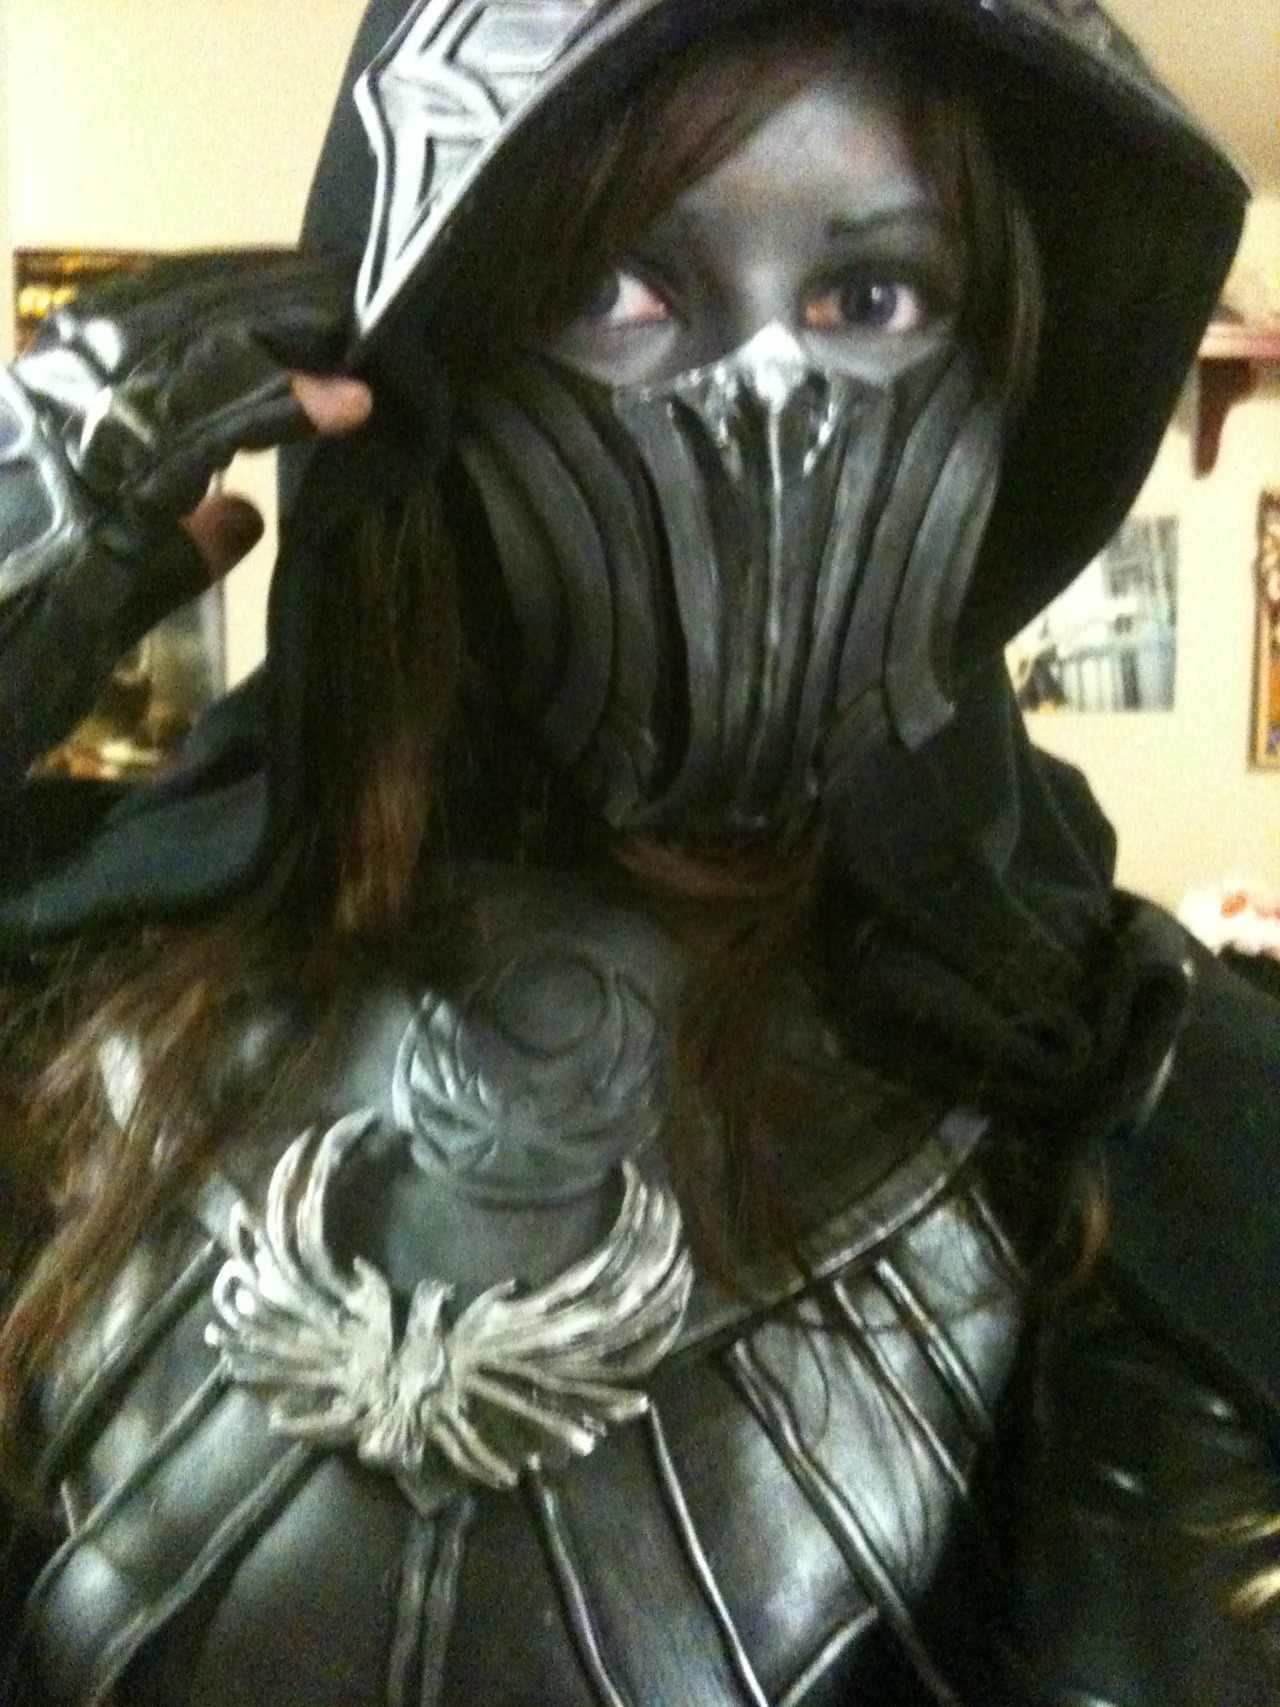
Photos of my Karliah cosplay from Skyrim in the PCC Masquerade! I won 1st place in the gaming category!
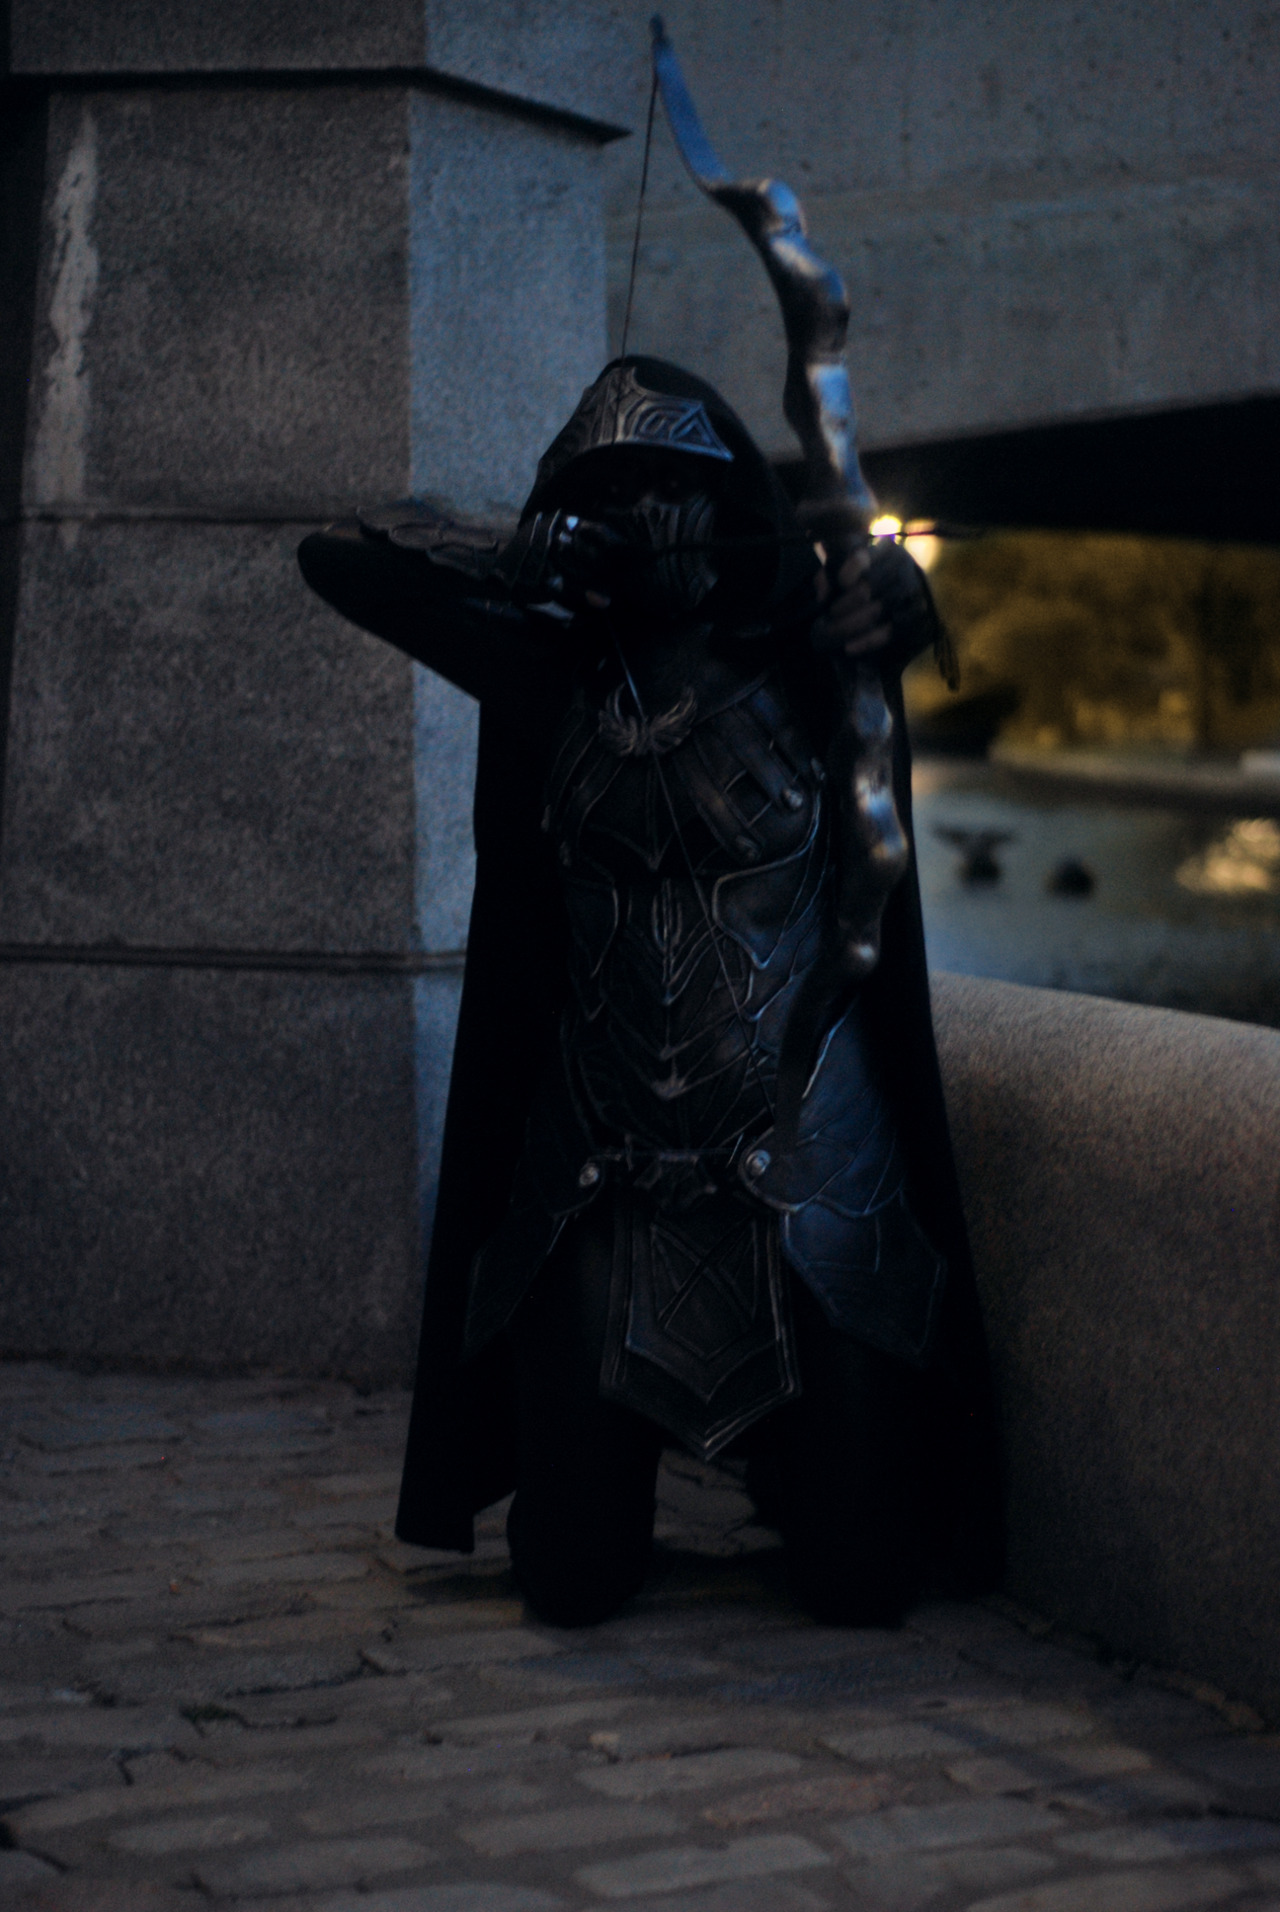
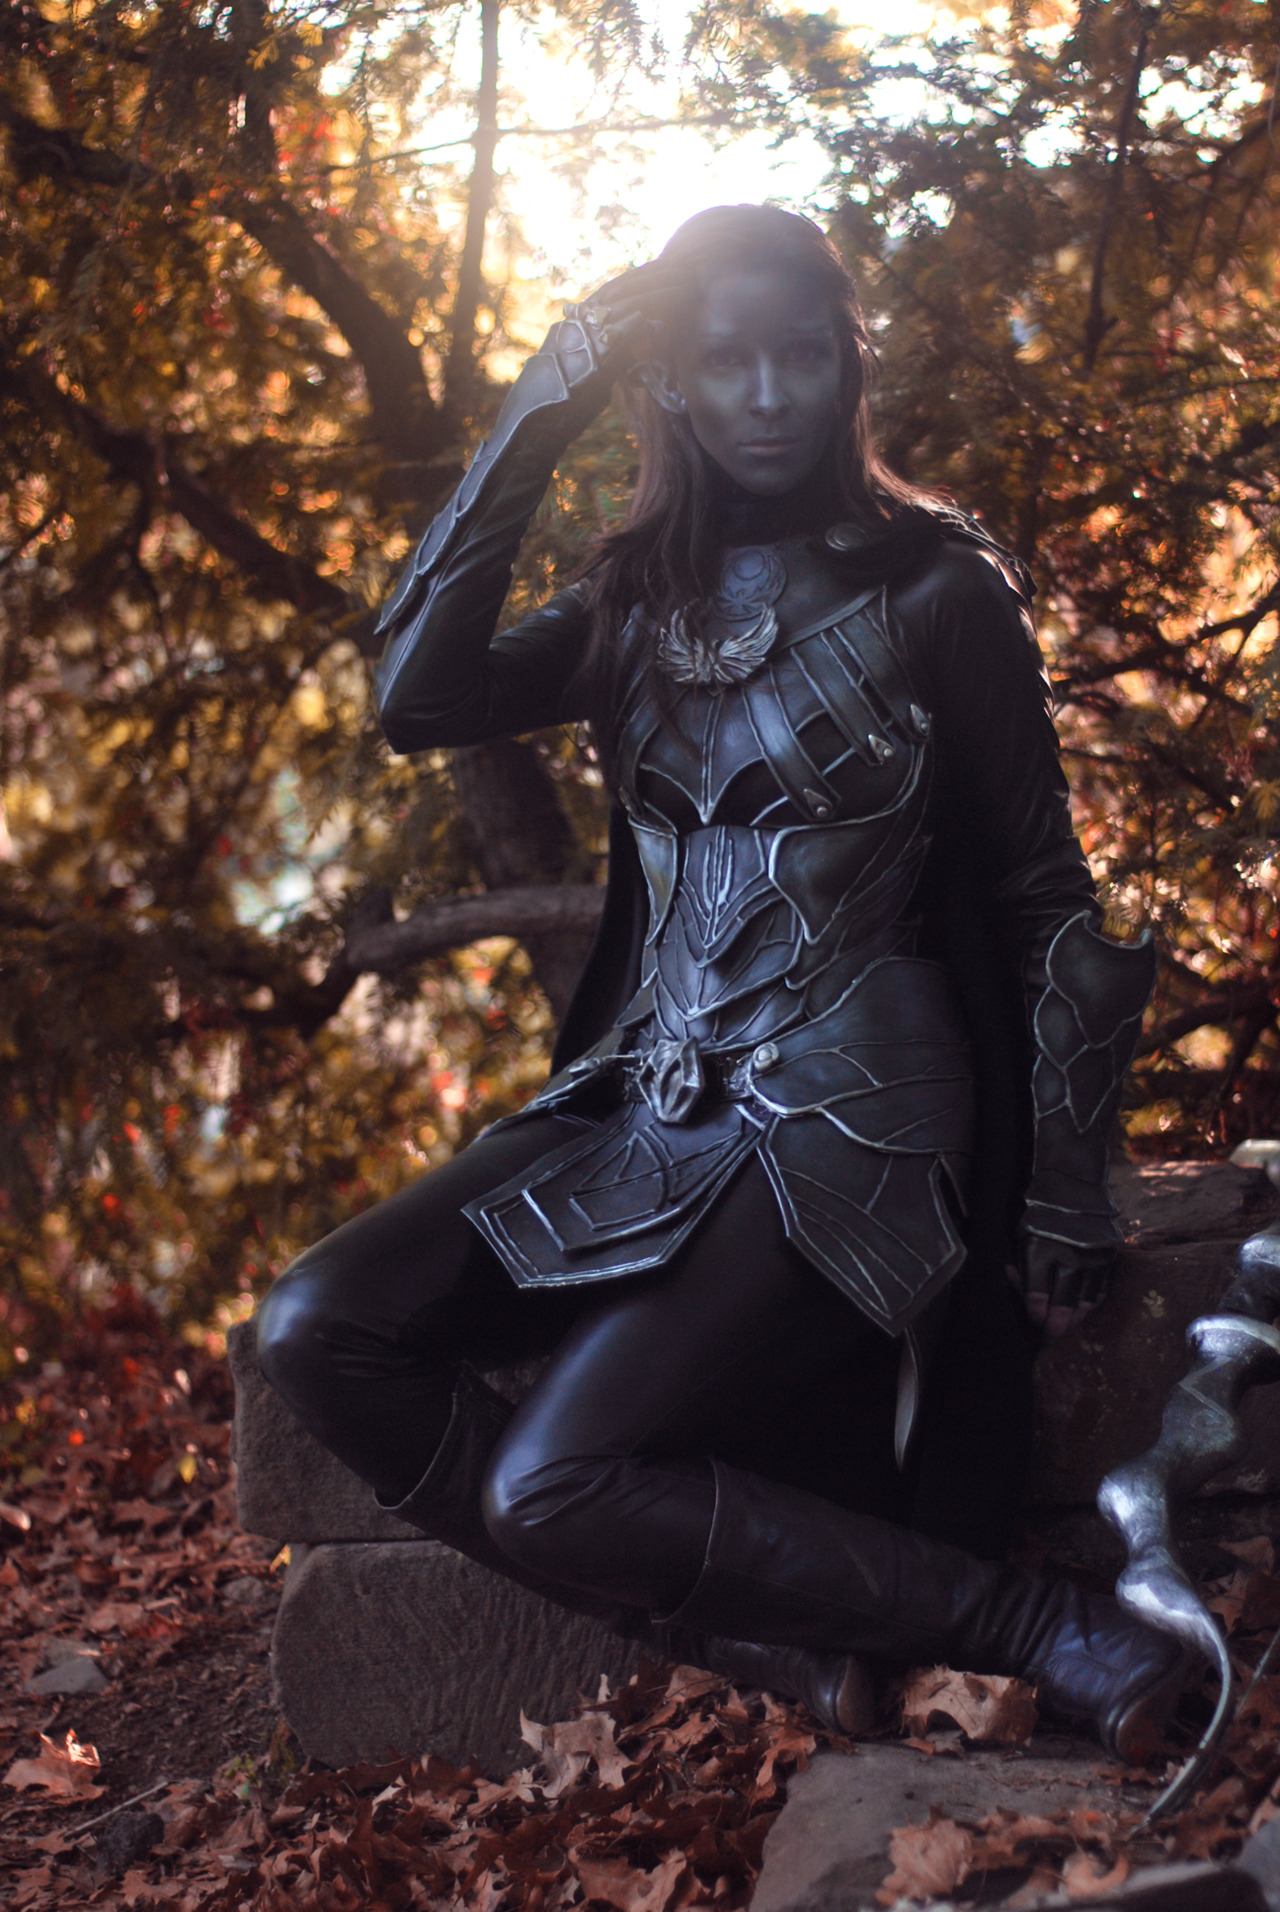
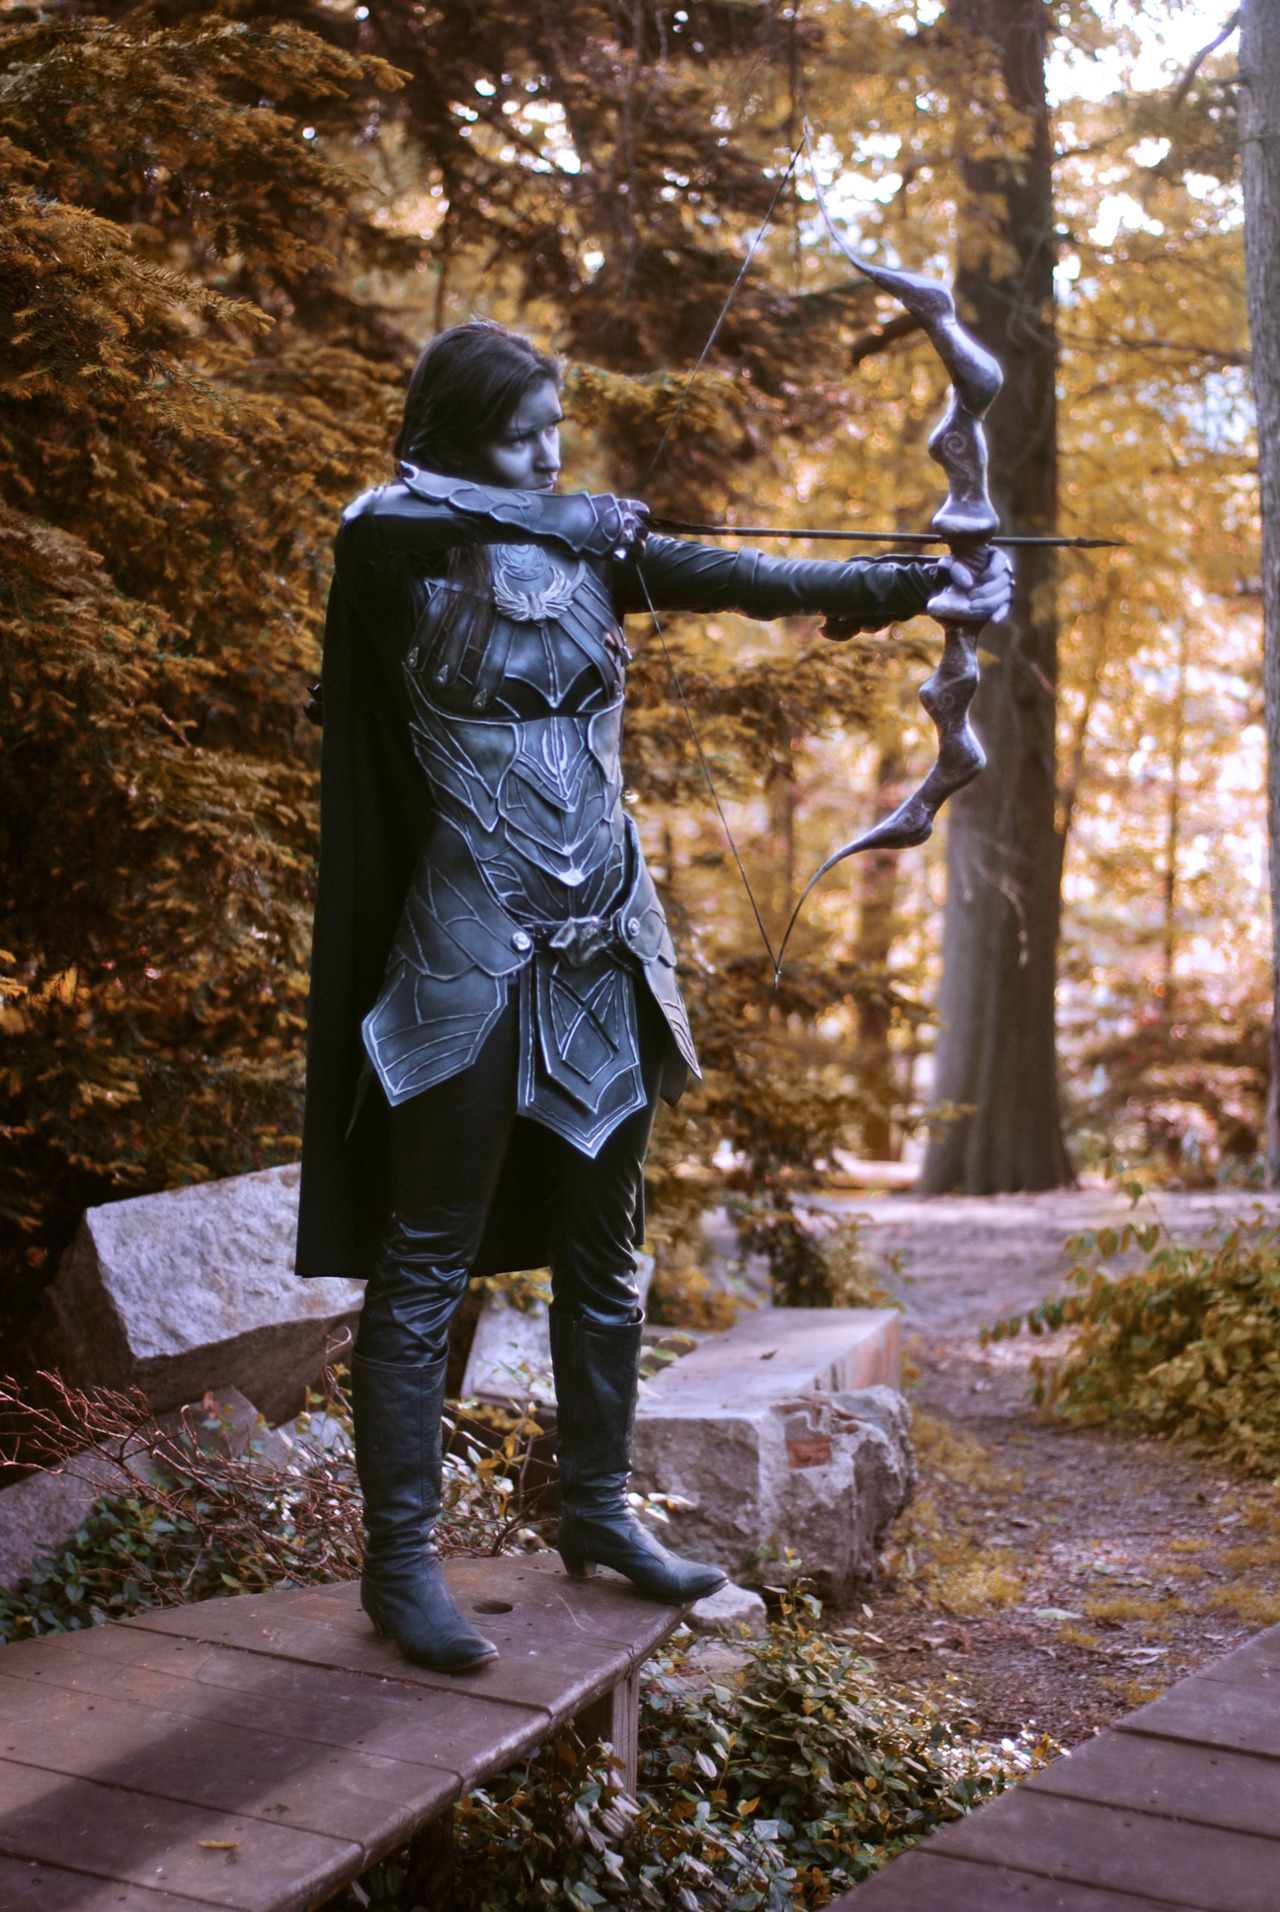
Because you’re so special Tumblr, I’m posting the sets of the shoot tonight, before I post them everywhere else tomorrow.

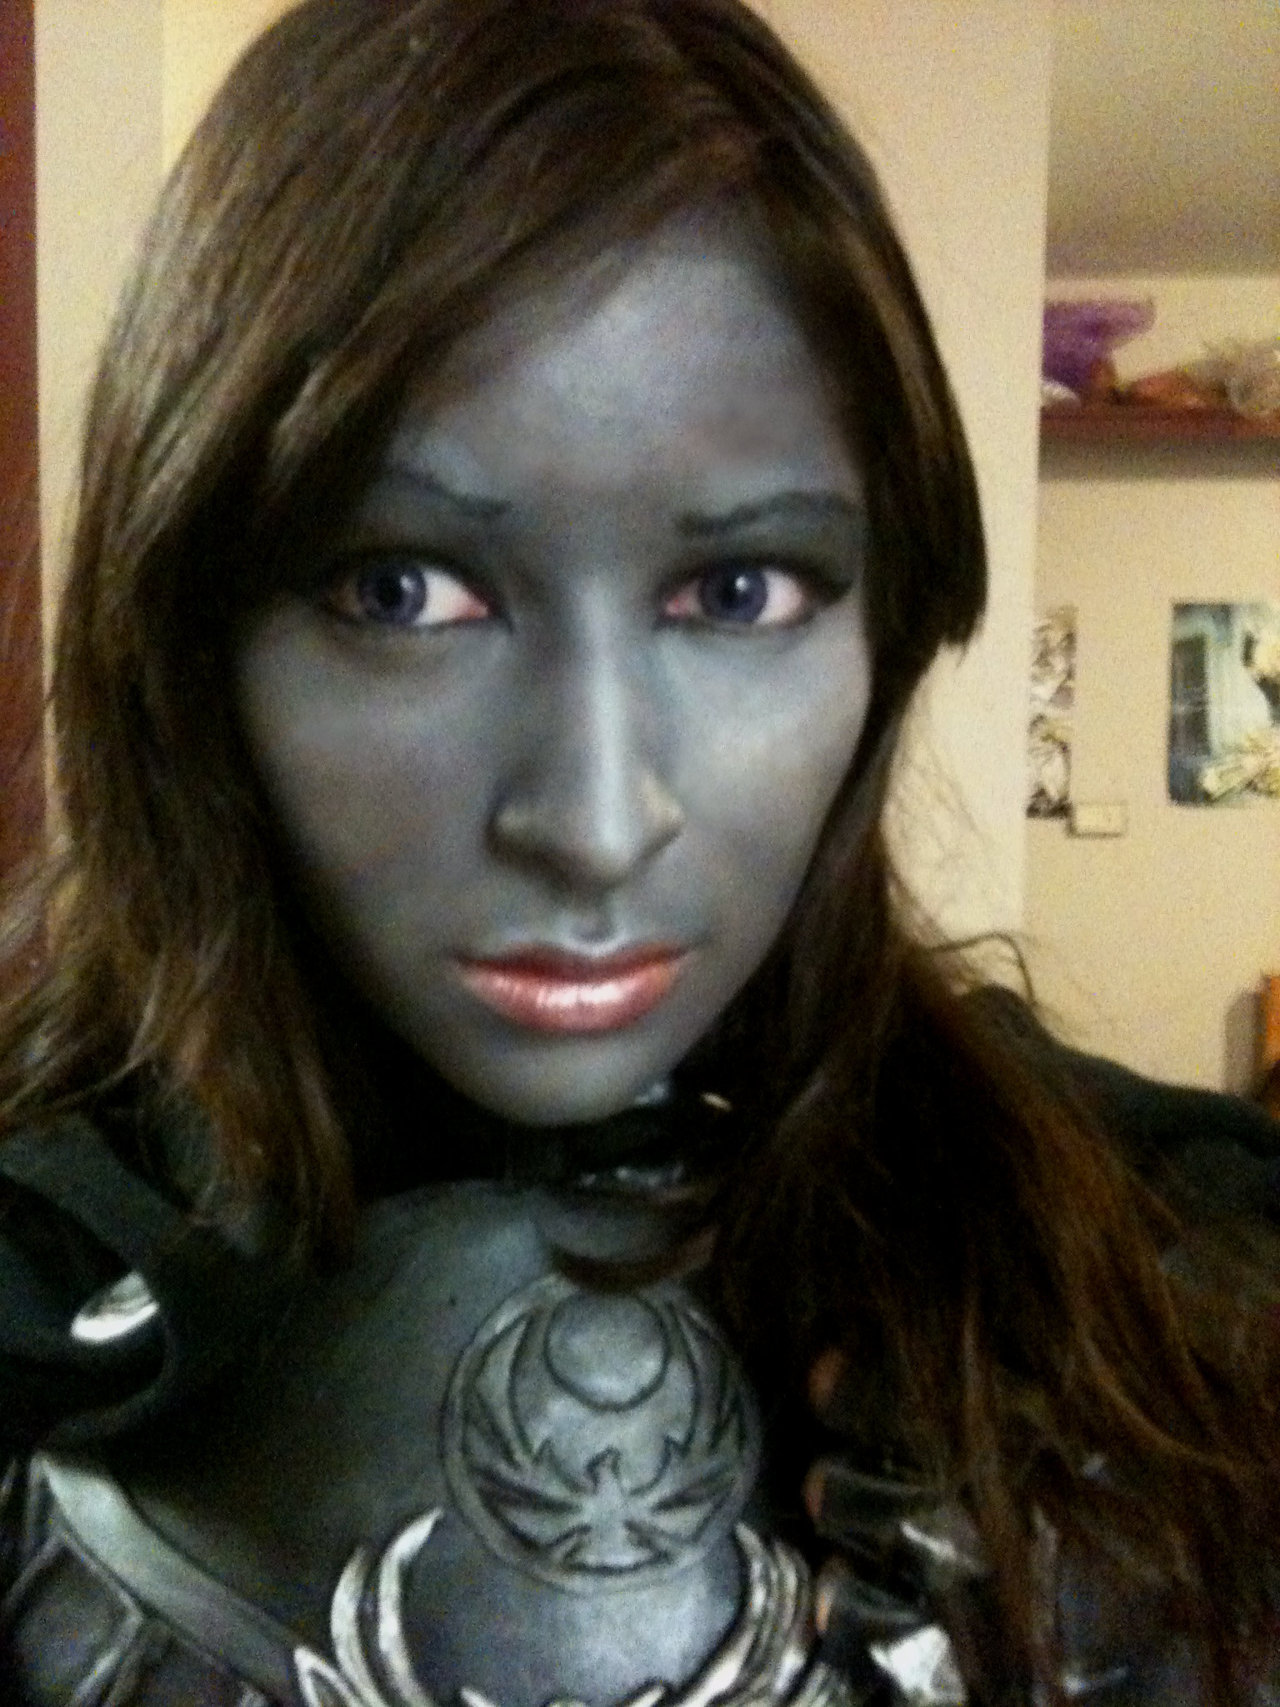
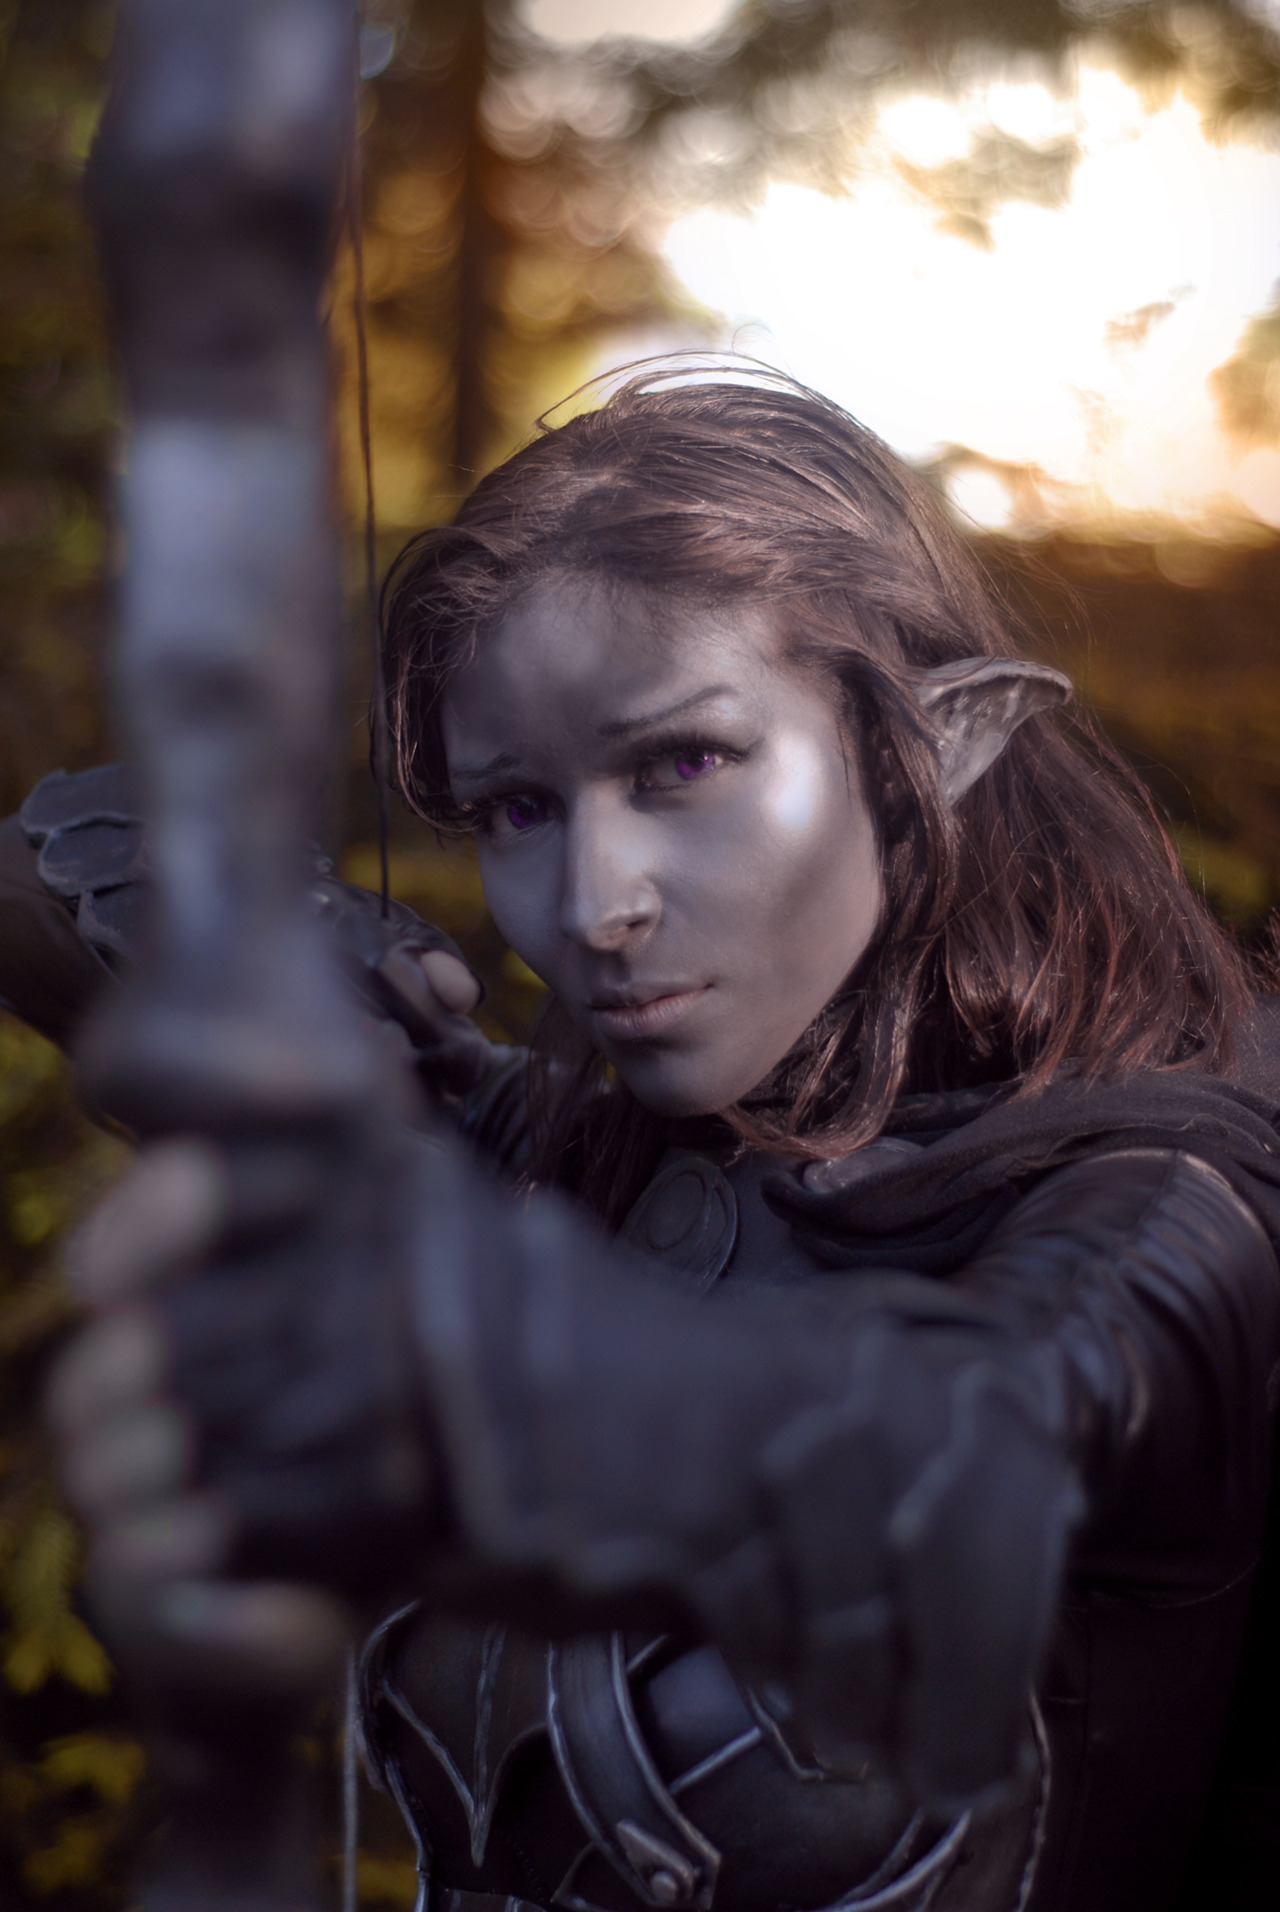
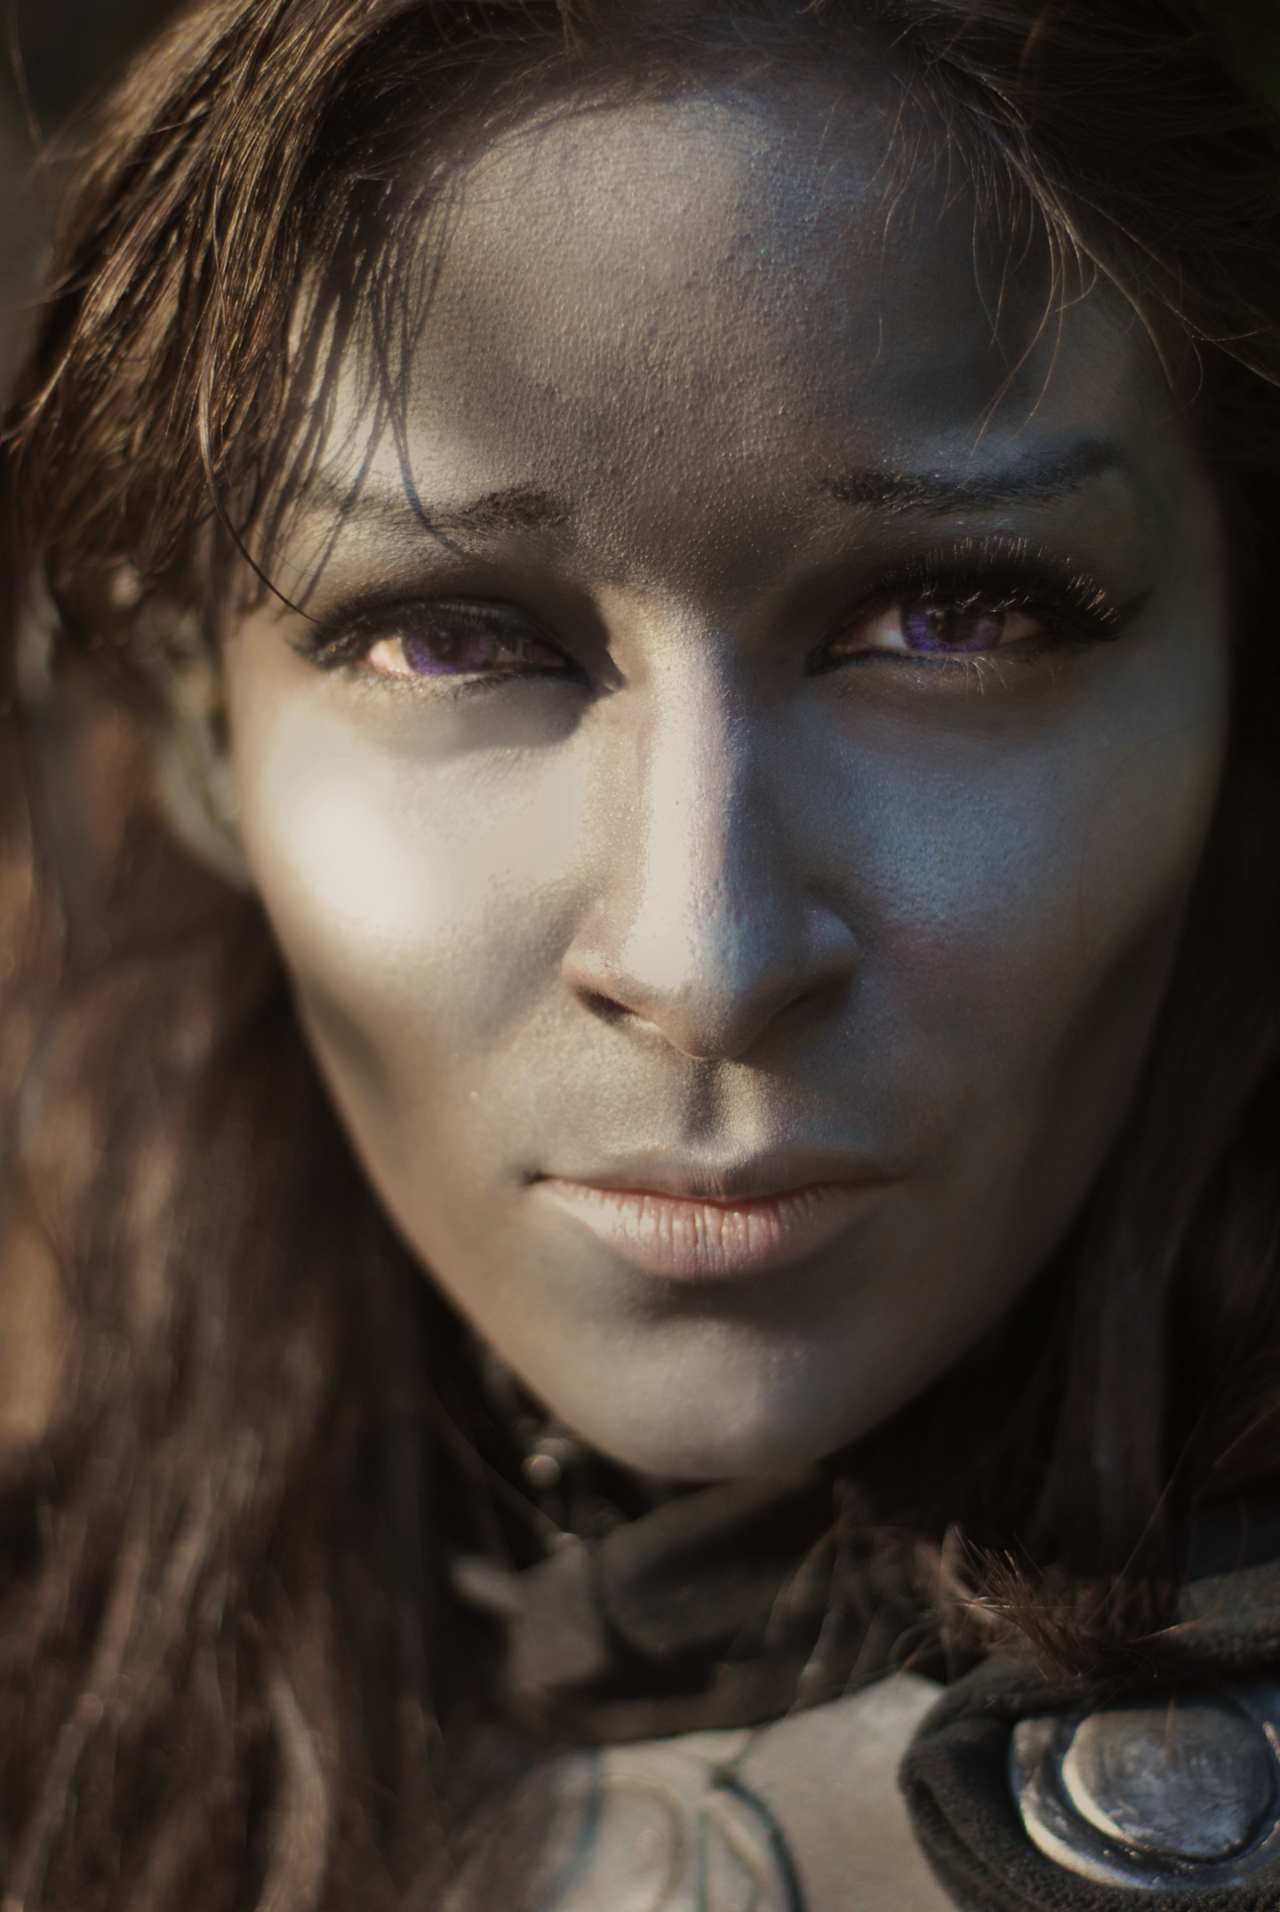
The makeup is giving me issues. OTL I’ve discovered that making
‘Dark Elf’ look good is pretty impossible without their bone structure.
Not to mention, grey skin looks really, really bad in certain angles and
light. It doesn’t help that I’m doing this at night with cheapo
florescents. I want to get the contouring of Karliah’s face down, maybe
do something different with the lips…But once I do the photoshoot
outside in the beautiful daylight forest this weekend, maybe things will
kinda work.
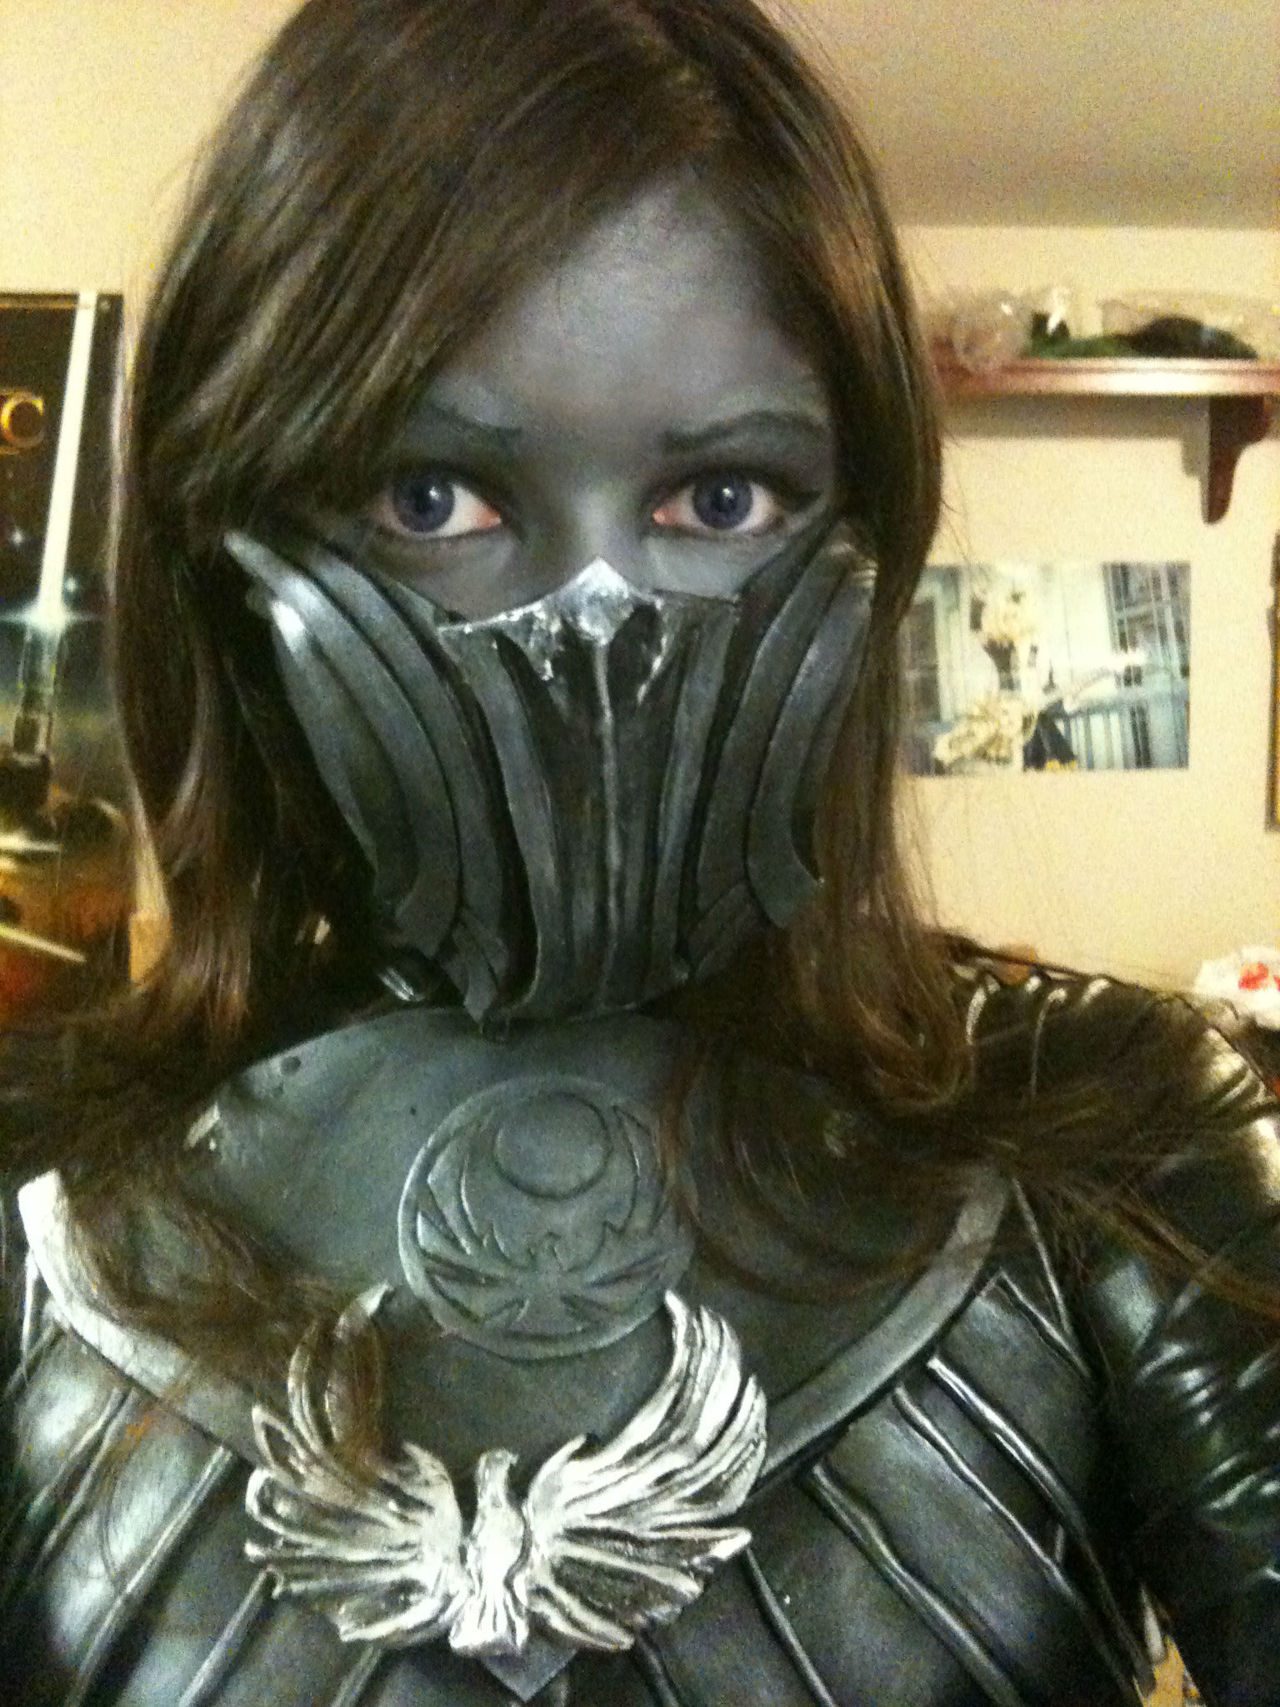
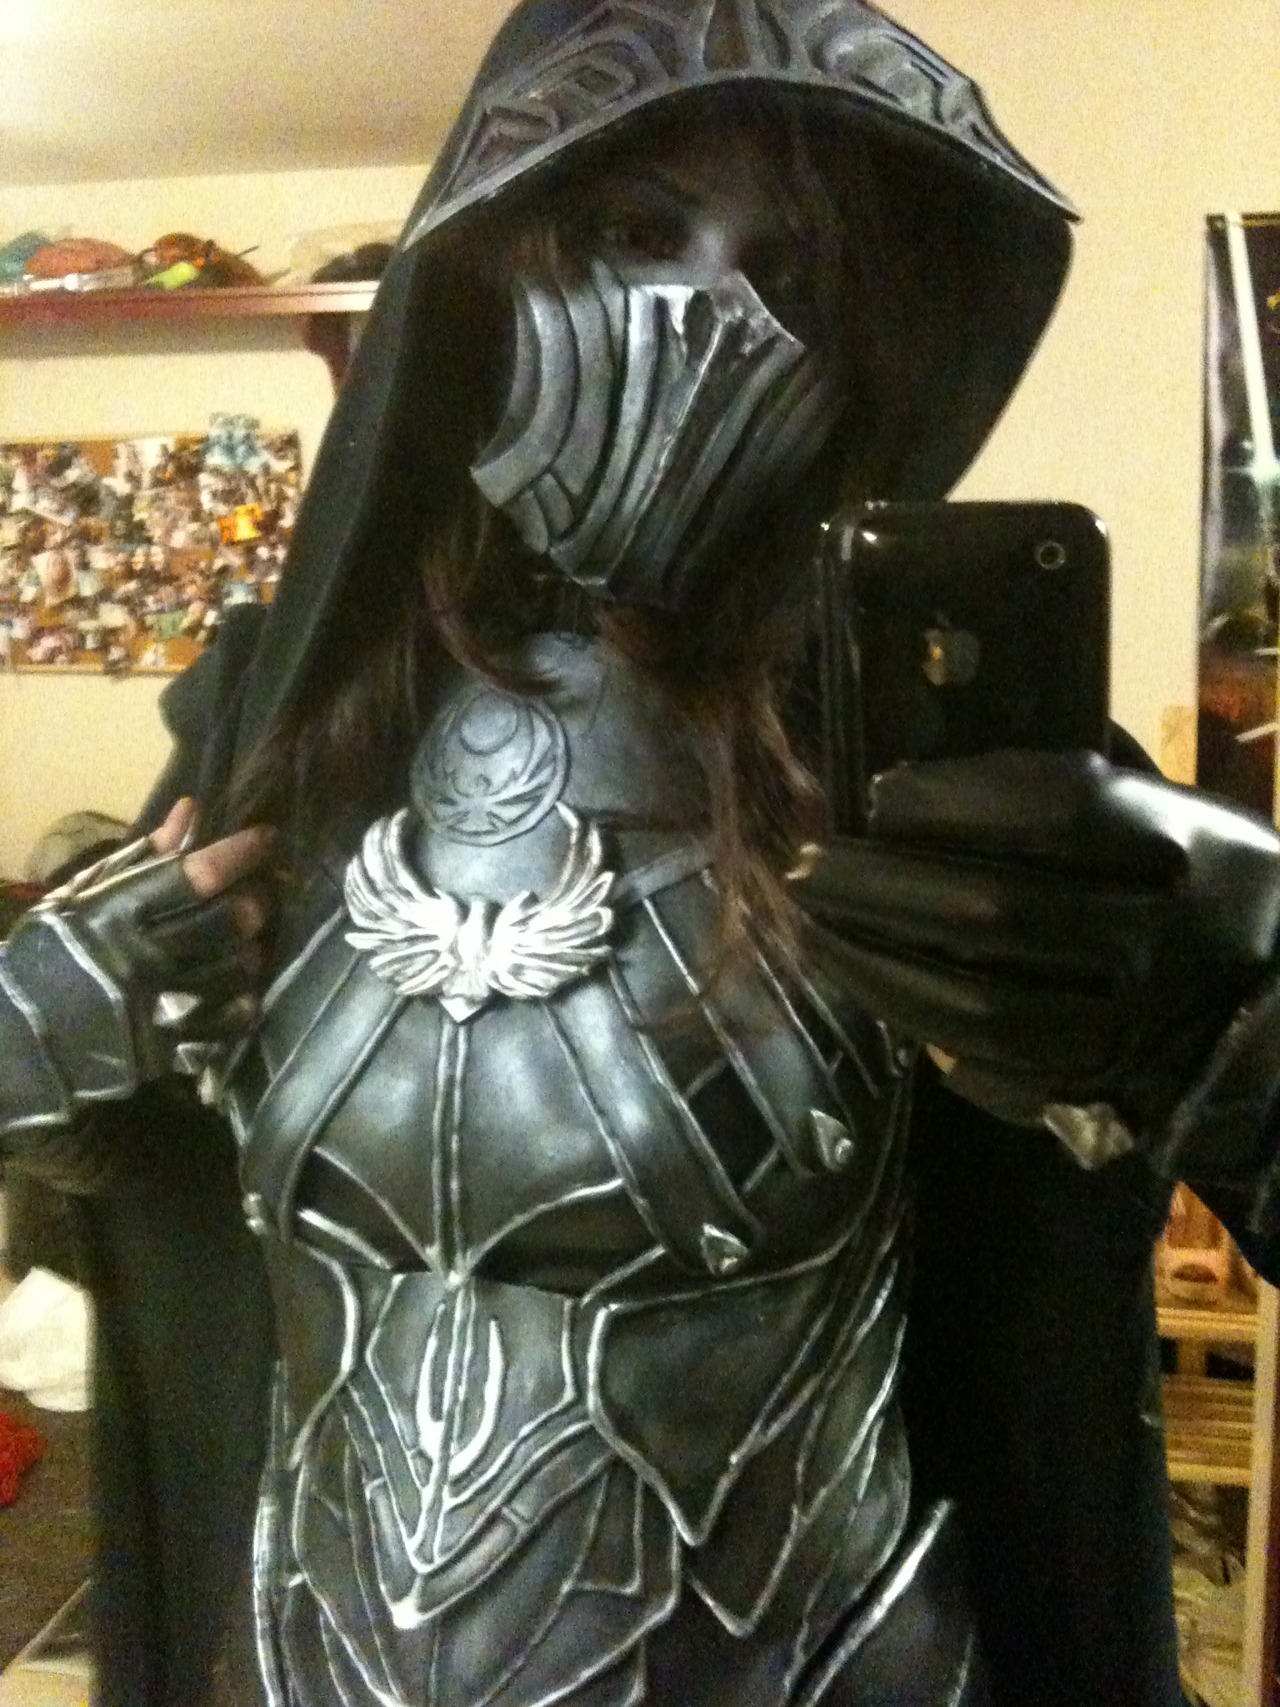
In the meantime… I may just ONLY wear the mask and never show my full face at conventions. I shudder at the bad angles and lighting that may happen (flash photography oh gawd)….
In the meantime… I may just ONLY wear the mask and never show my full face at conventions. I shudder at the bad angles and lighting that may happen (flash photography oh gawd)….
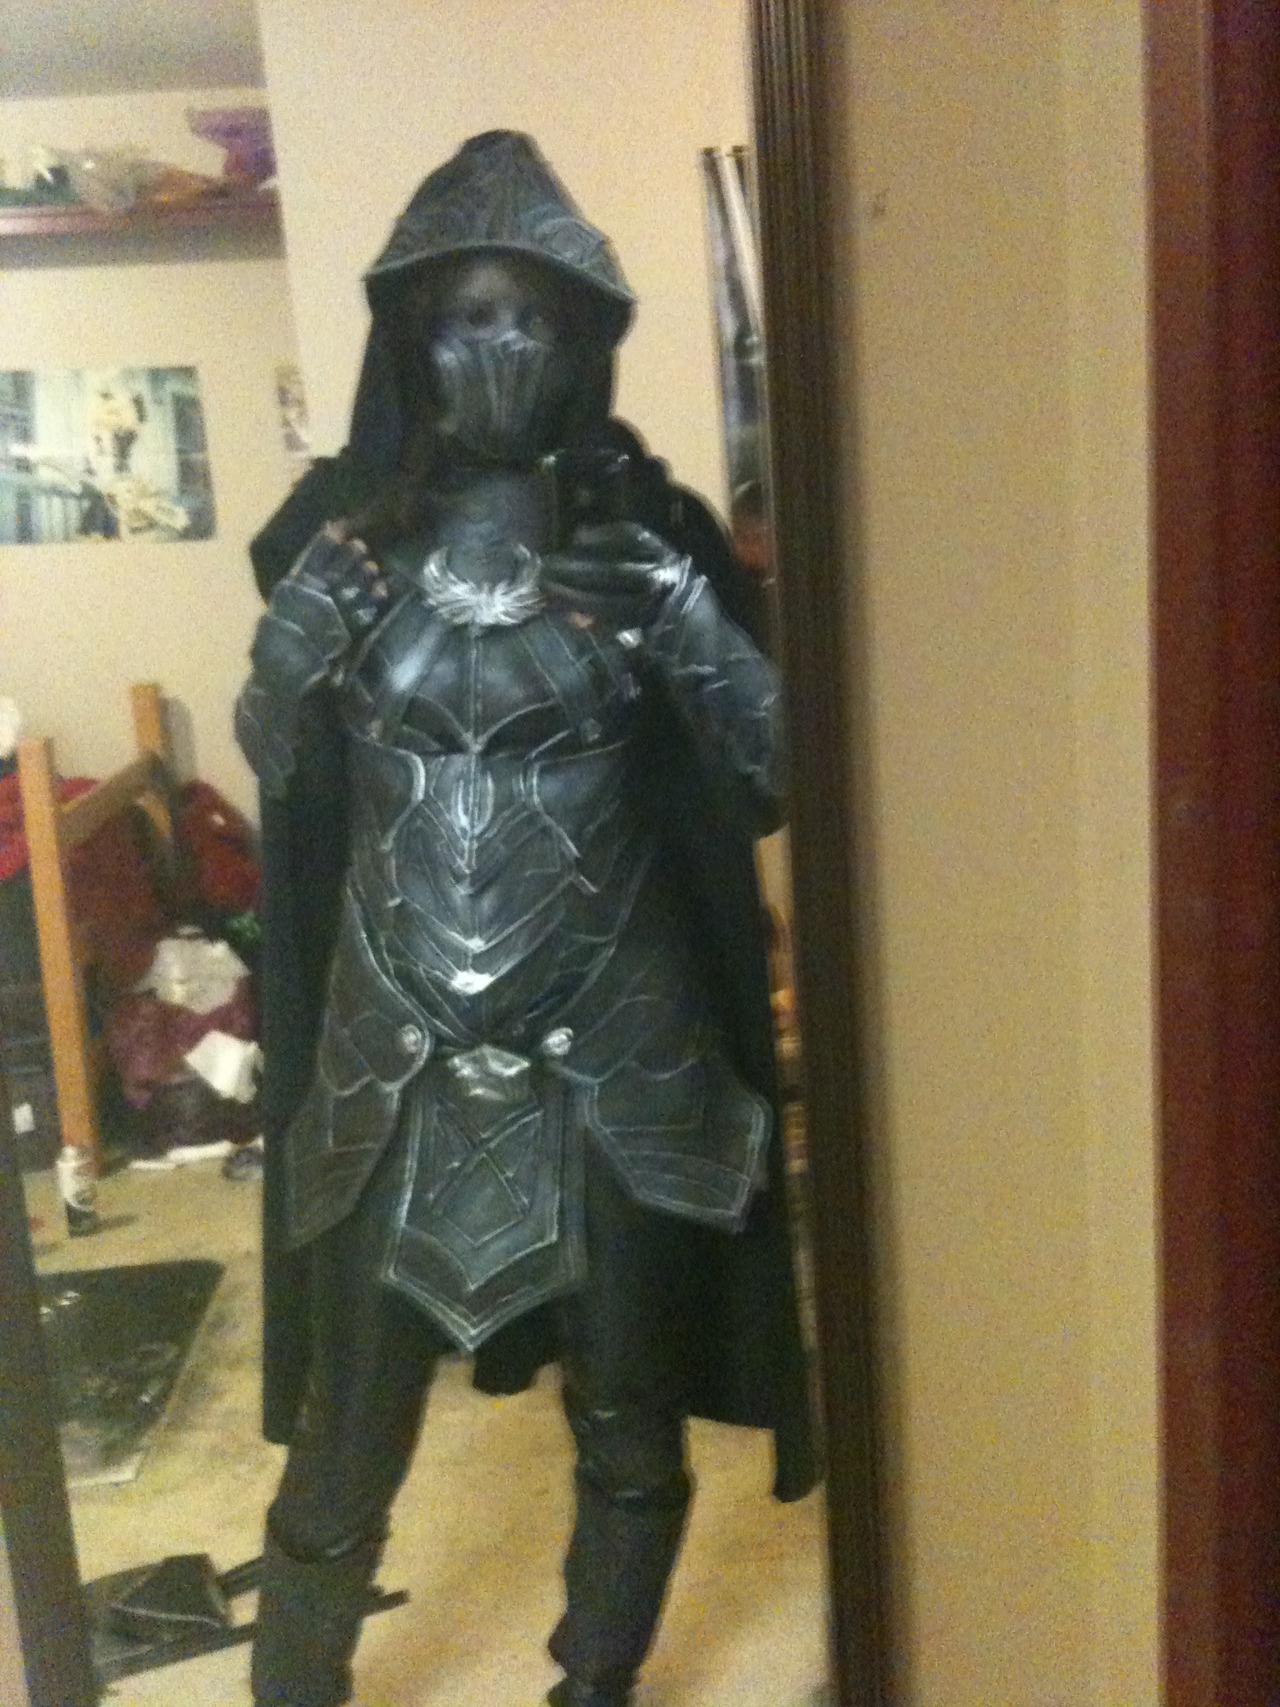
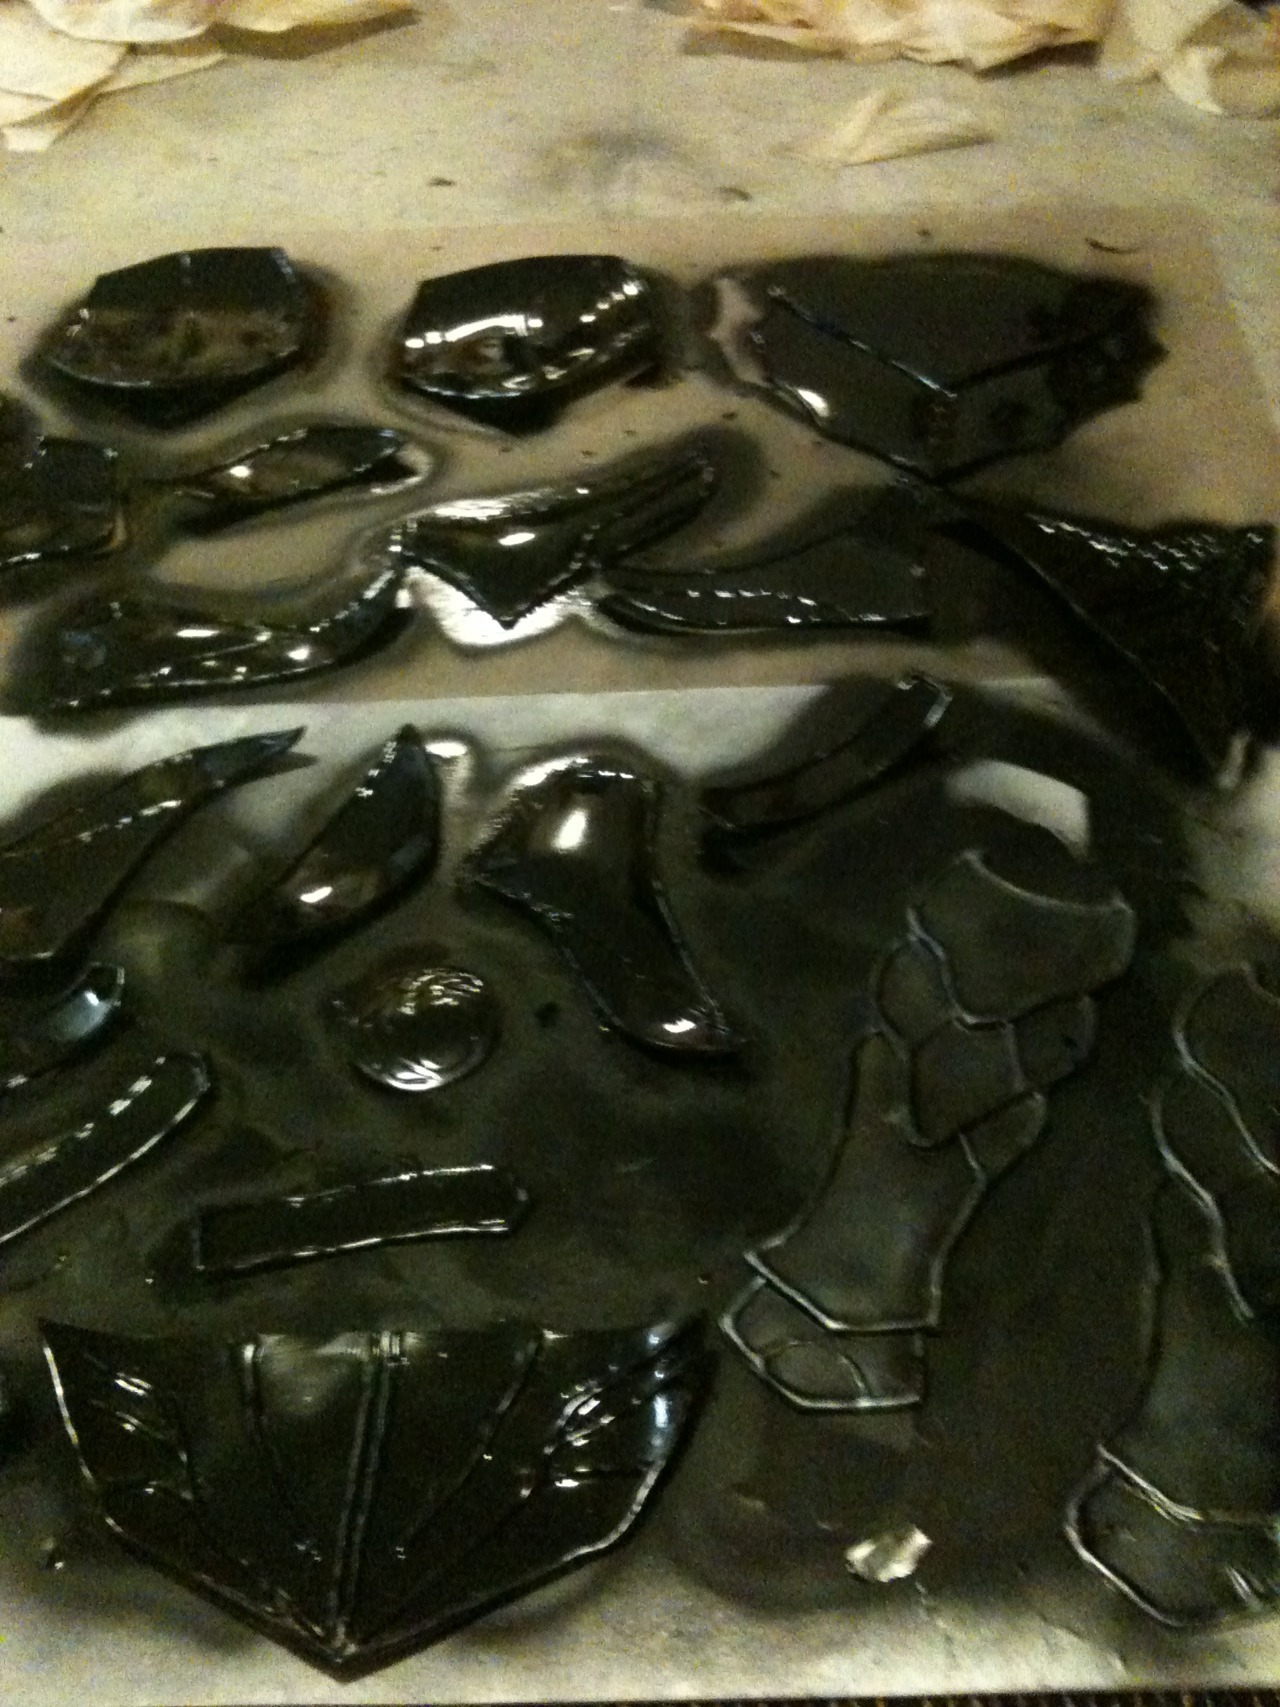


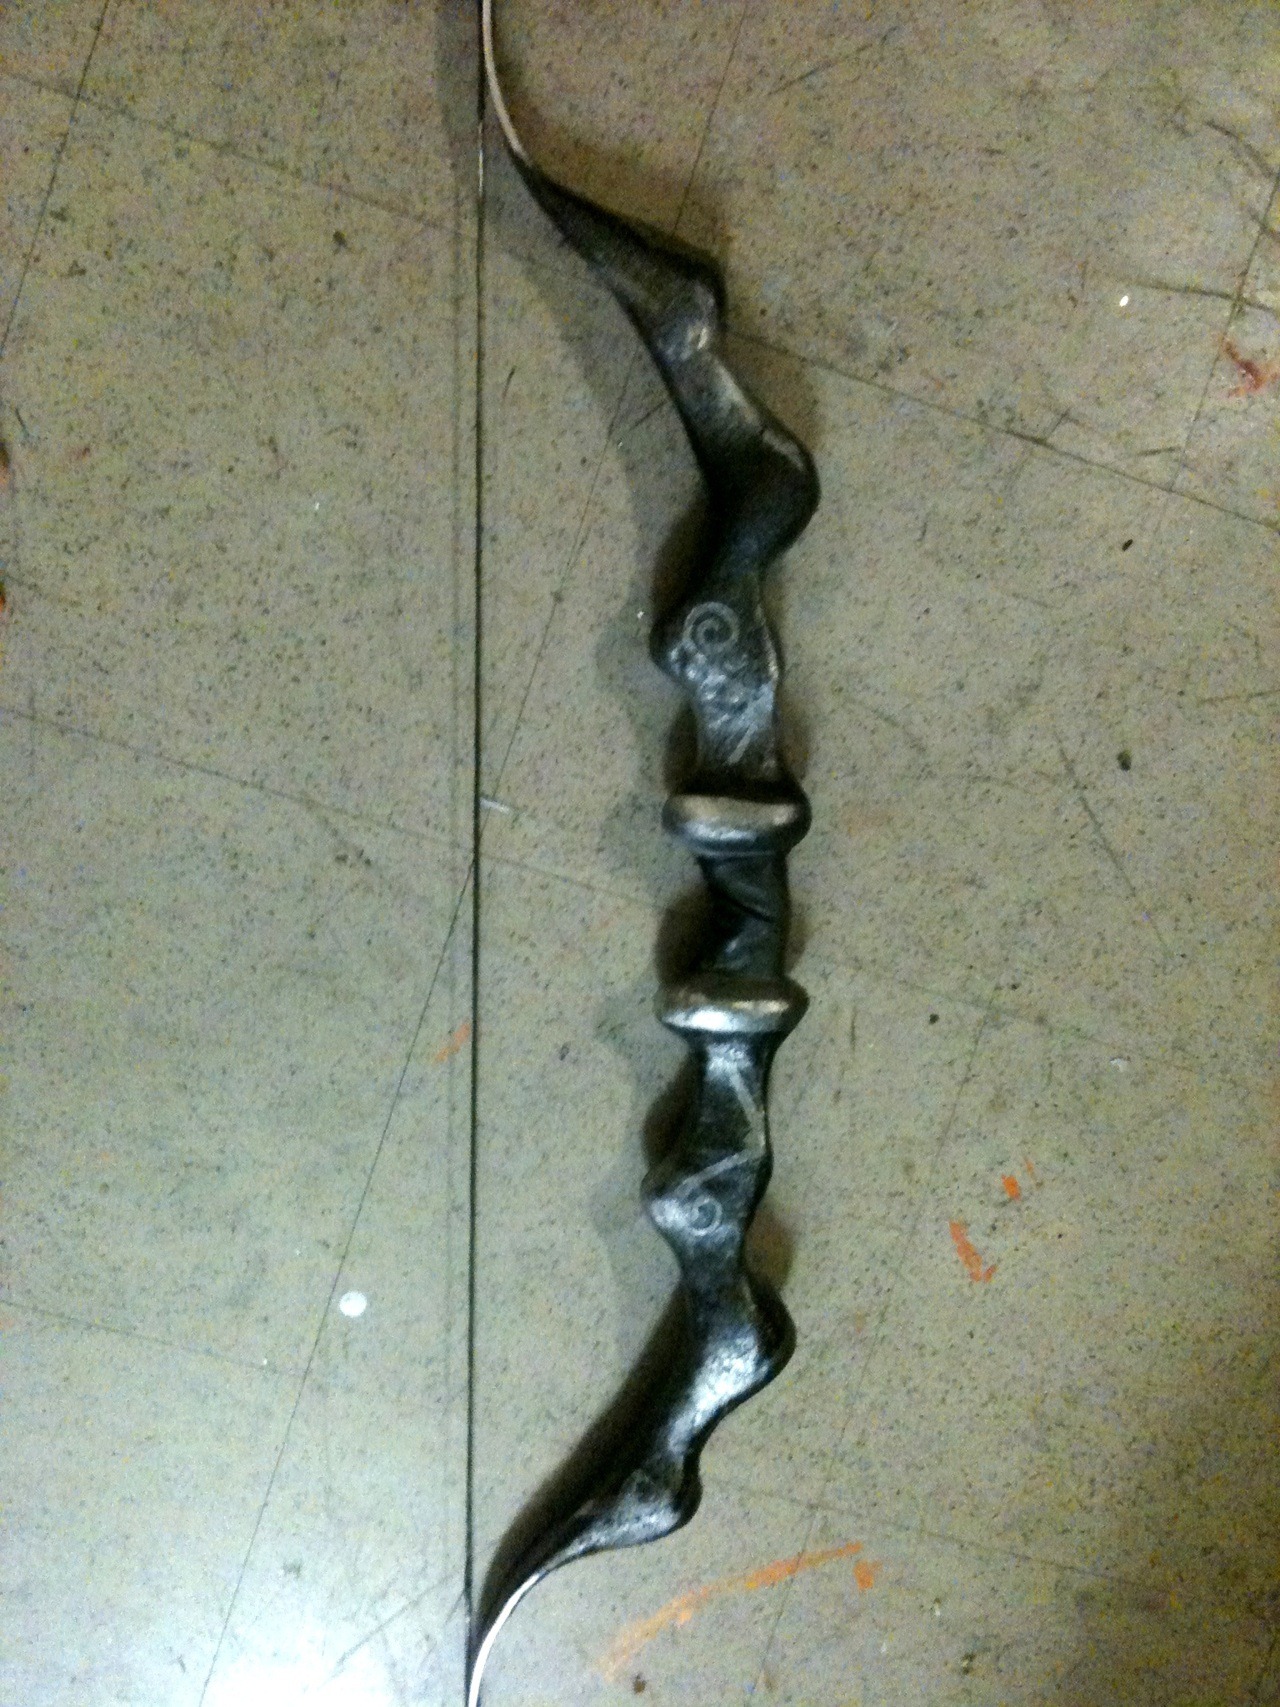
Here’s my painting process:
1. After cutting out, hot gluing the details and SEALING the craft foam in mod podge, I spray it all flat black. One coat usually covers it really well.
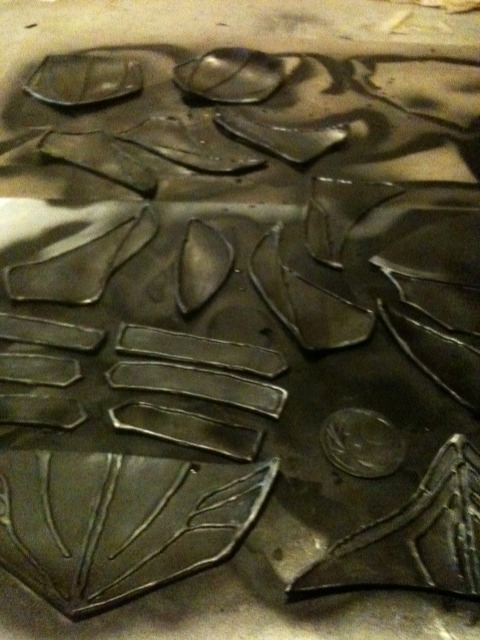
2. When it dries, I rub in some metallic silver fabric paint. this first rub in is very crude, and cover a bit of everything except for the creases.
3. The crude silver pieces are misted over with black paint again. I hold the can away at a farther distance than before, and just let the mist of the black paint waft onto the pieces.
4. I repeat step 2. Rubbing in some leather on the raised edges and just a few smudges in the center of flat areas. I mist like in step 3 if necessary.
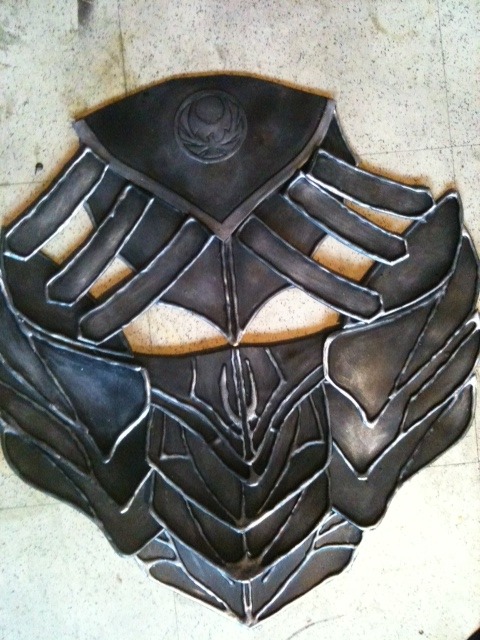
And ta da! Finished worn leather looking craft foam! It’s a tedious job doing this process piece by pice, and it each mist and weather may only make a difference to my own eyes, but it works!
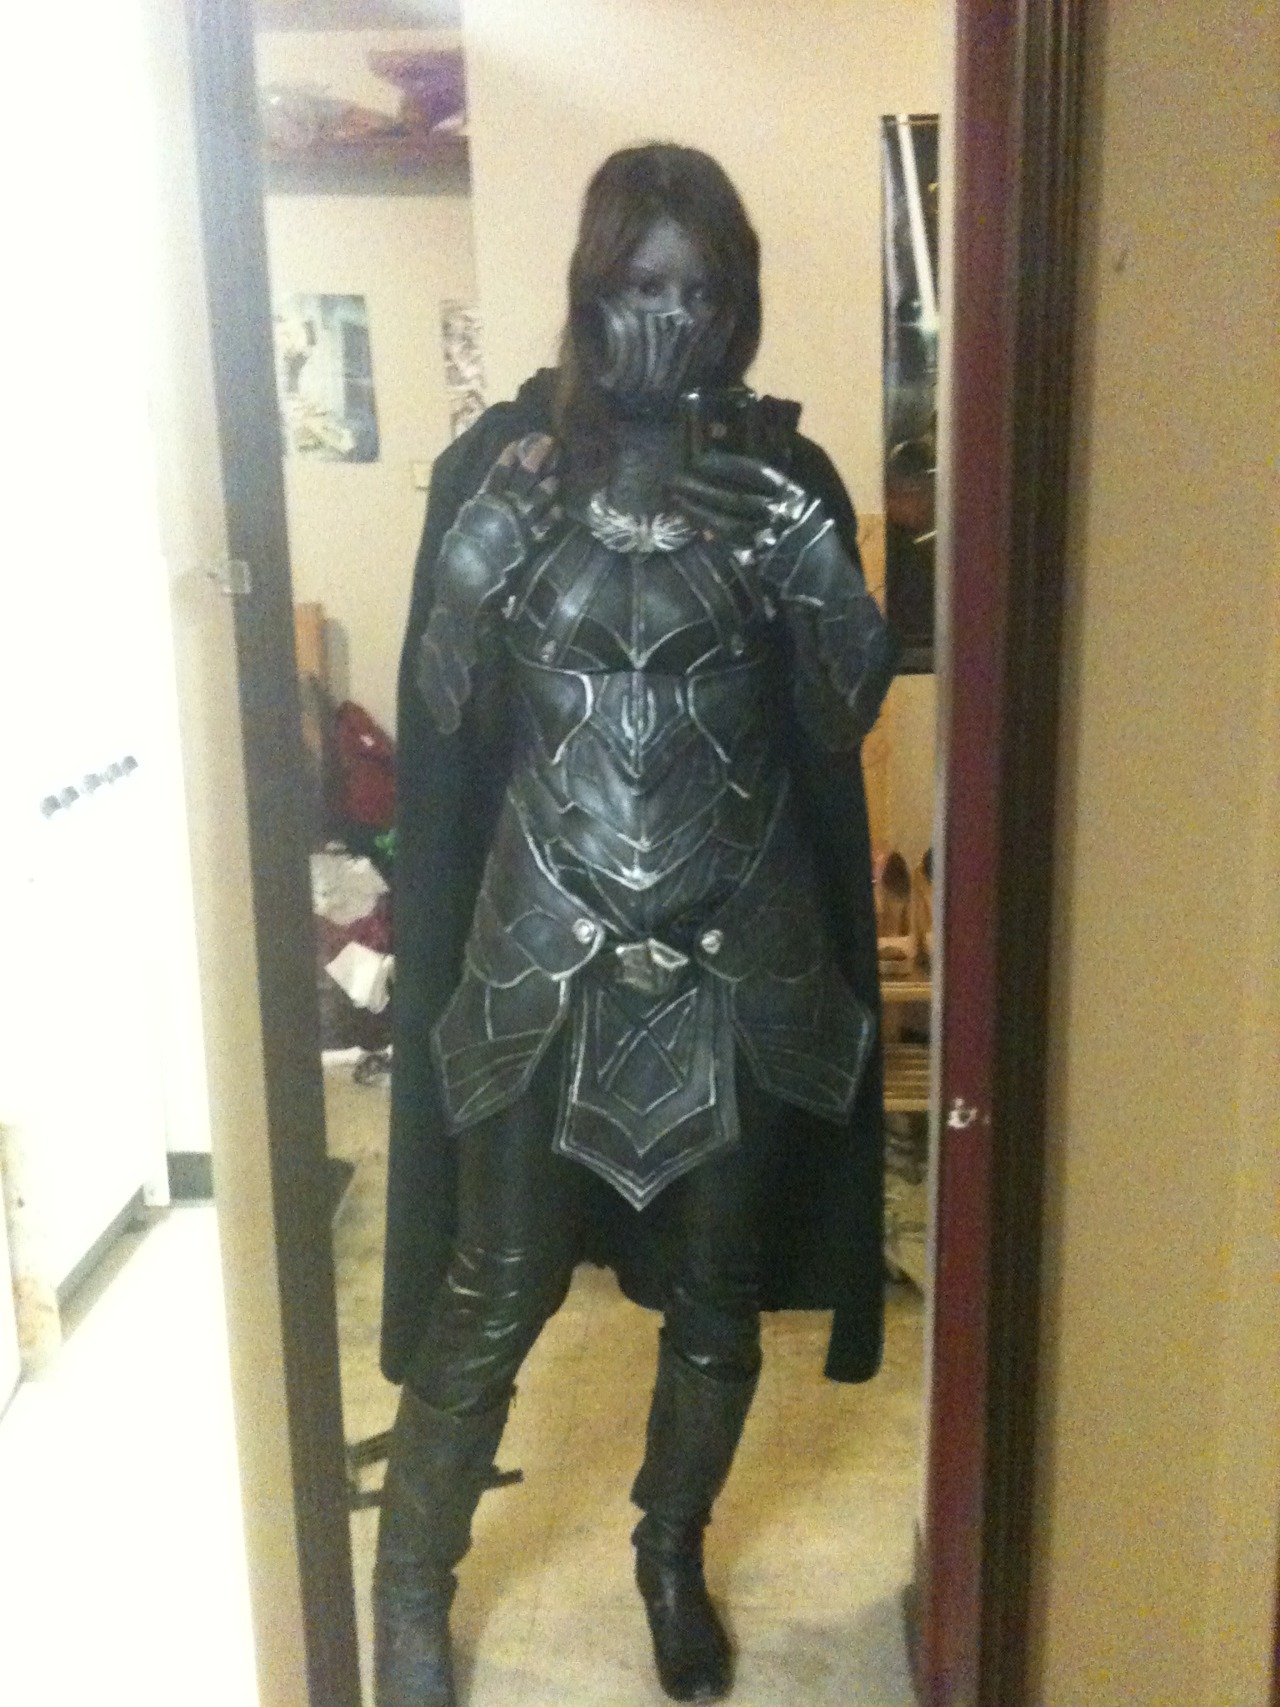
Today after class I’ll be fastening all these pieces to my jumpsuit so I’ll post pictures of that later tonight.
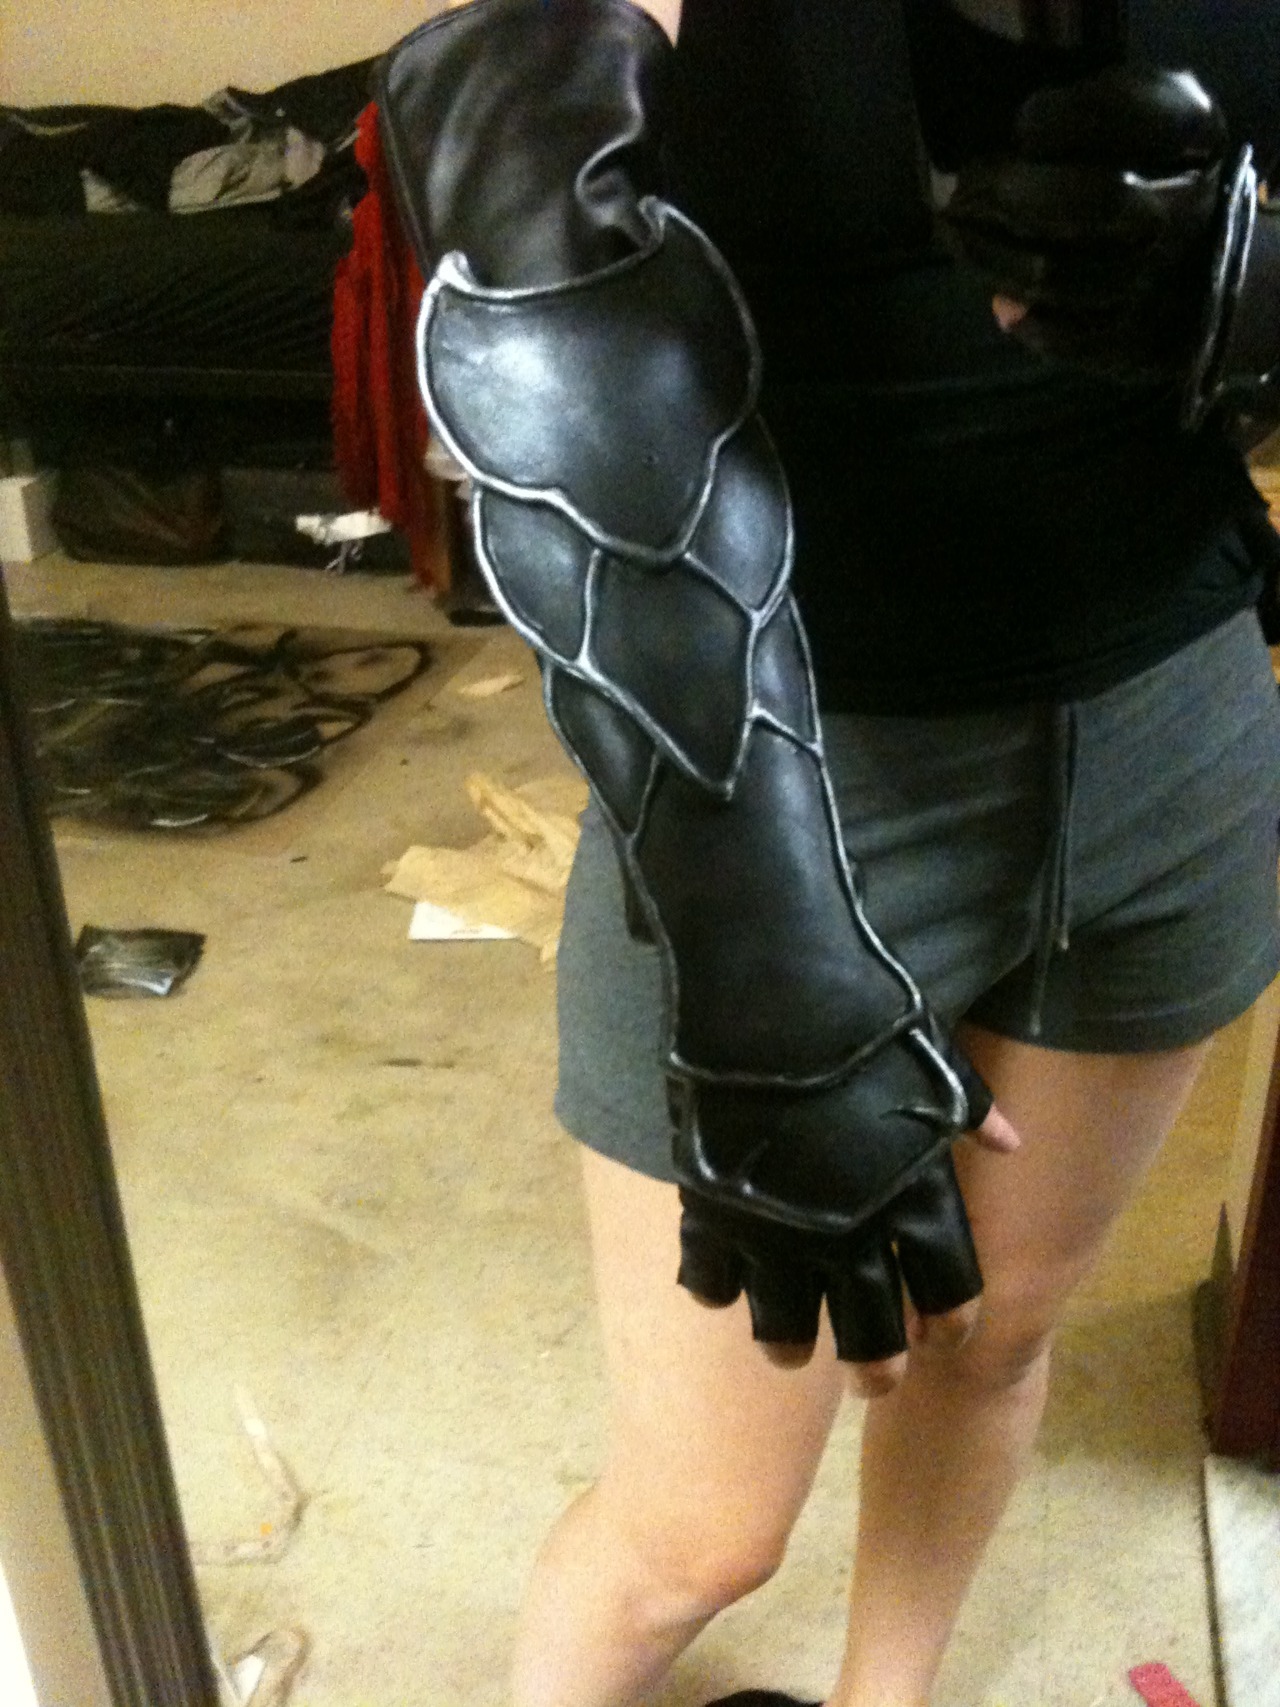
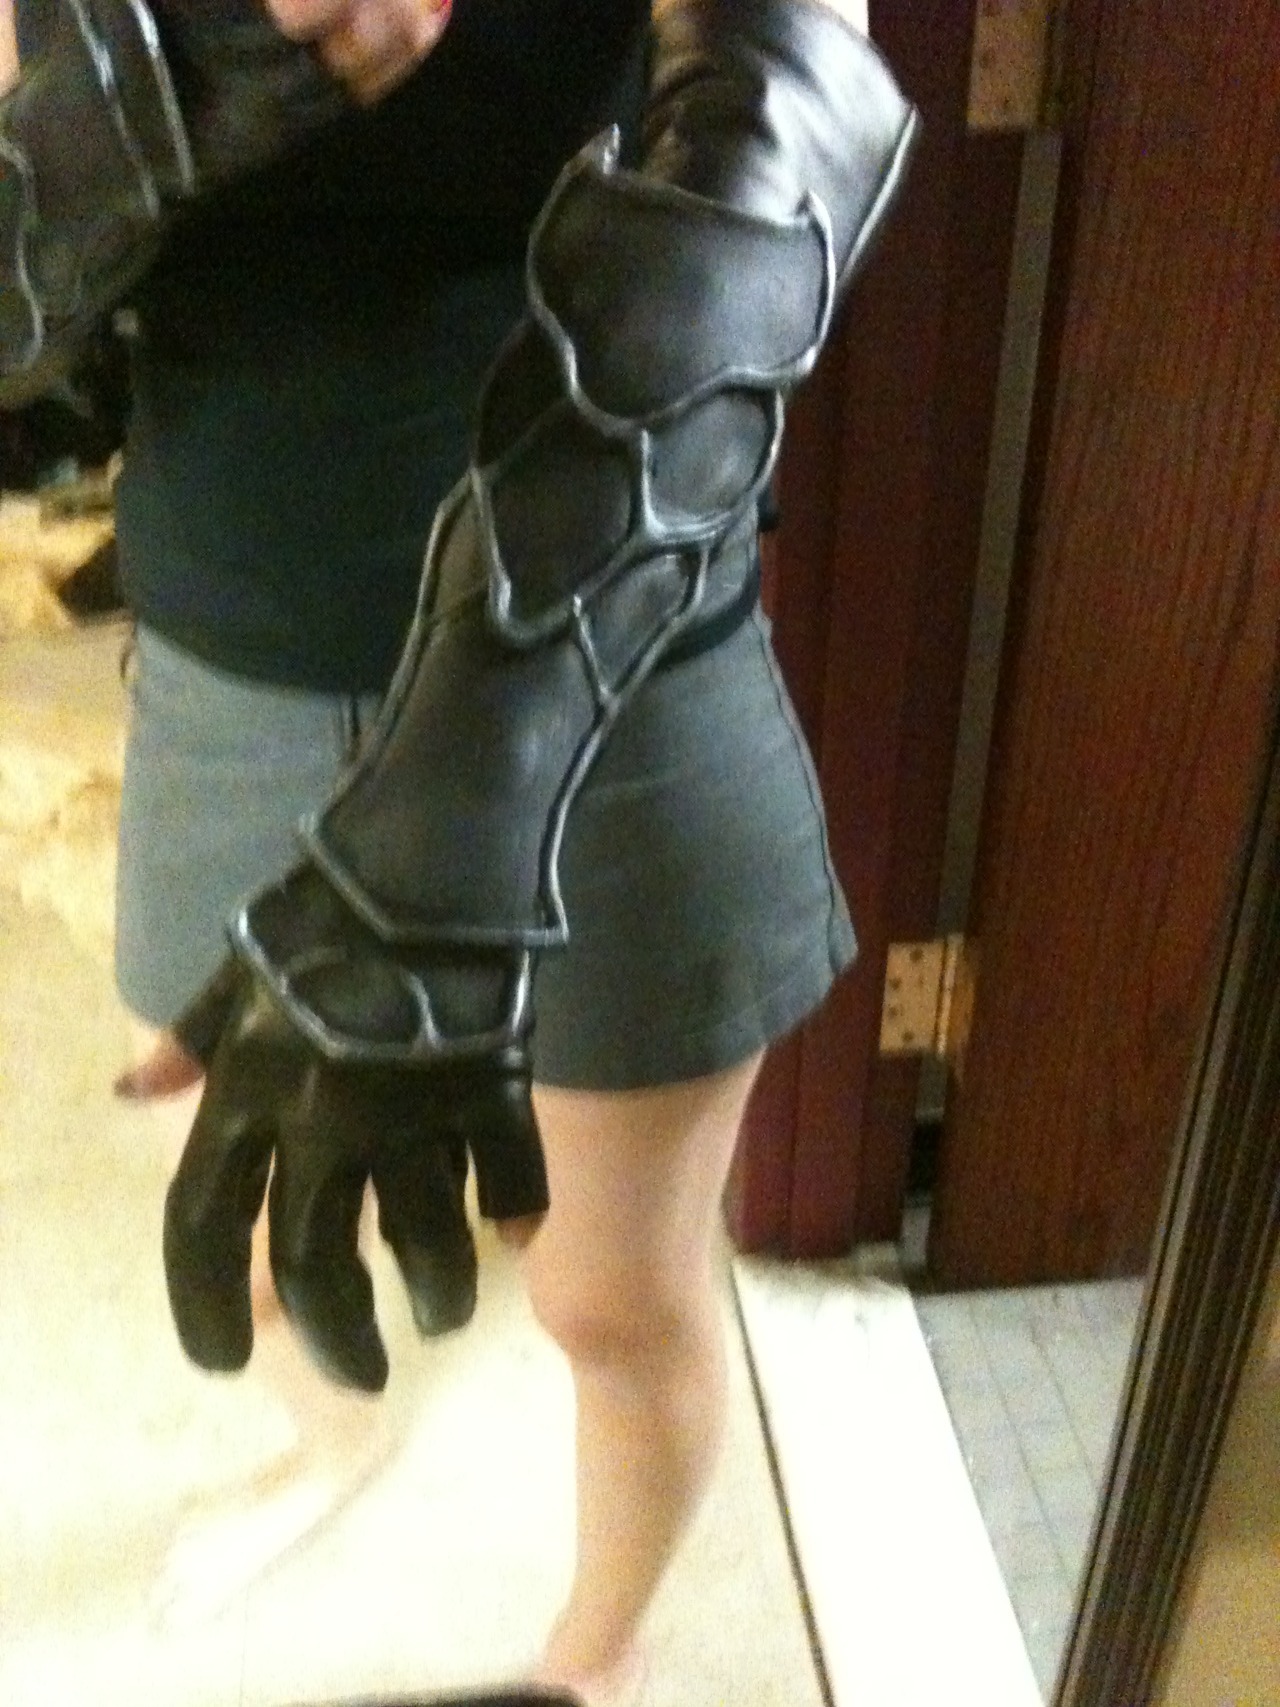
Got both of the arm bracers completed! I’m liking the paint job
process so far. It’s super tedious, and I gotta really be precise about
my layers to get a perfect mute shine of silver over and beneath a black
leather texture, but so far so good.
Of course, I’ll explain more with what I’m doing in pictures, but I’m waiting on some other coats from the chest pieces to dry before I do so.
Of course, I’ll explain more with what I’m doing in pictures, but I’m waiting on some other coats from the chest pieces to dry before I do so.
No comments:
Post a Comment